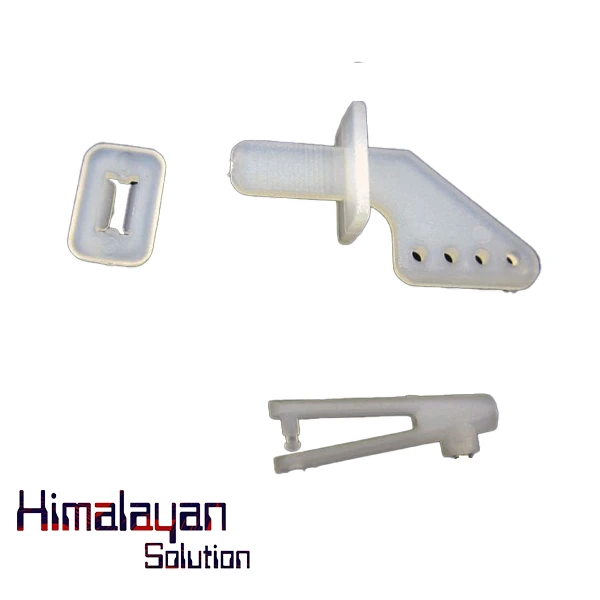
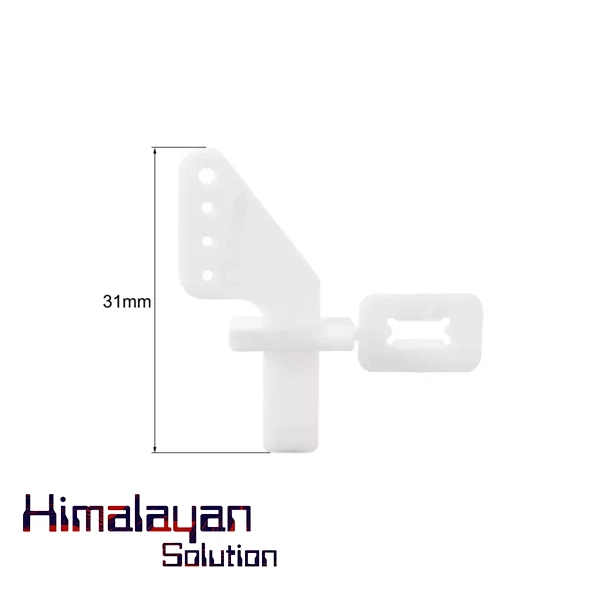
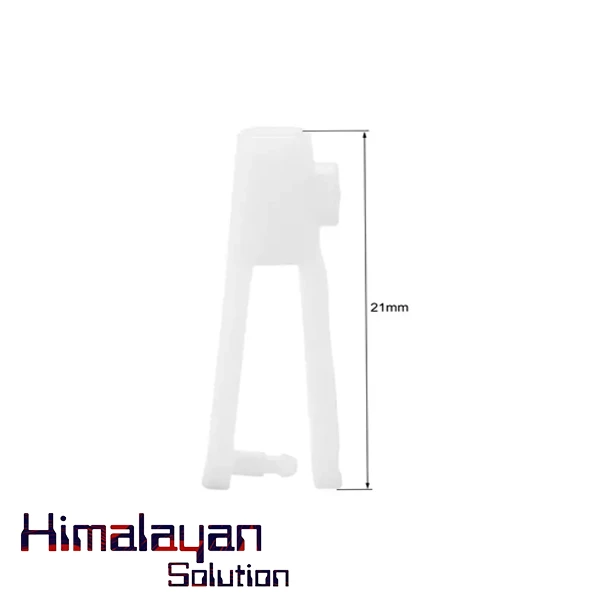
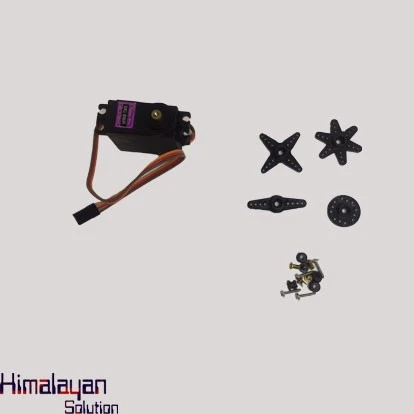
4-Hole Nylon Pin Control Horns and Clevis Kit
The 4-Hole Nylon Pin Control Horns and Clevis Kit is designed for RC planes, boats, and other servo-controlled applications, ensuring precise and reliable movement of control surfaces. Features: Durable Nylon Construction – Lightweight yet strong, resistant to wear and tear. 4-Hole Design – Offers multiple mounting pos...
Read moreThe 4-Hole Nylon Pin Control Horns and Clevis Kit is designed for RC planes, boats, and other servo-controlled applications, ensuring precise and reliable movement of control surfaces.
Features:
- Durable Nylon Construction – Lightweight yet strong, resistant to wear and tear.
- 4-Hole Design – Offers multiple mounting positions for fine-tuning control linkage.
- Clevis with Secure Locking Mechanism – Ensures a firm connection between pushrods and control surfaces.
- Universal Compatibility – Works with various pushrod sizes, commonly 2mm or 2.5mm.
- Easy Installation – Includes backing plates and mounting screws for secure attachment.
Applications:
- RC airplanes (ailerons, rudders, elevators, flaps).
- RC boats (rudders).
- RC cars (steering linkages).
- Other servo-controlled mechanisms requiring precise motion transfer.
How to Use:
1. Install the Control Horn on the Control Surface
- Identify the correct position for the control horn (rudder, elevator, aileron, etc.).
- Align the base of the control horn with the control surface so the holes are in line with the pushrod’s movement.
- Use the included screws to secure the horn, threading them through the holes and into the backing plate on the other side (if applicable).
2. Attach the Clevis to the Control Horn
- Insert the clevis pin into one of the four holes on the control horn. Choose a hole based on your required control throw (closer to the surface = less throw, farther = more throw).
- Snap the clevis closed to secure it to the horn. Some clevises have a locking sleeve that should be slid over the snap link to prevent accidental opening.
3. Connect the Clevis to the Pushrod
- Thread the pushrod through the clevis and secure it by screwing it in.
- Adjust the pushrod length so the control surface is centered in the neutral position.
4. Test and Adjust
- Move the control surface manually to ensure smooth movement and no binding.
- Power on the servo system and test movement via the transmitter.
- If adjustments are needed, unsnap the clevis and rotate it to lengthen or shorten the pushrod.
Related products
SG90 Servo Motor Plastic Gear SG90 180 Degree
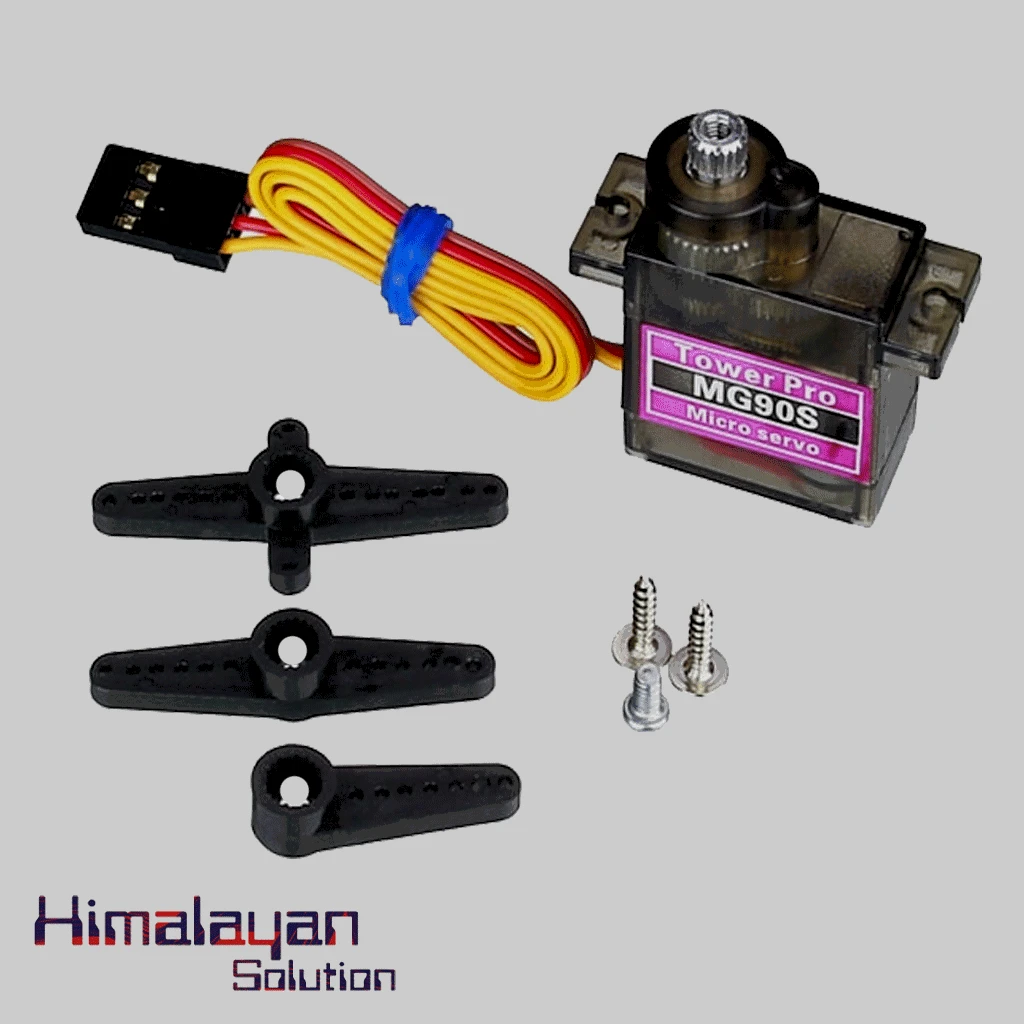
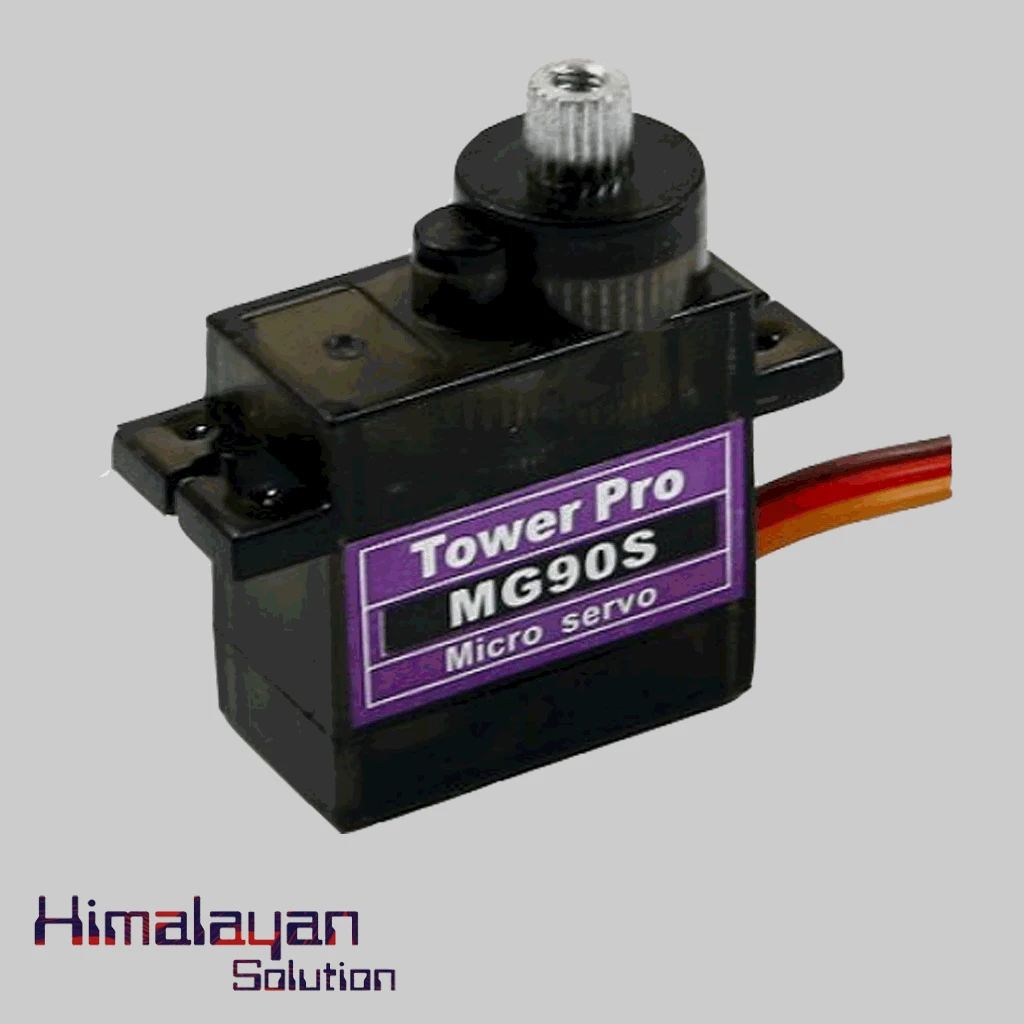
MG90S Servo Motor Gear
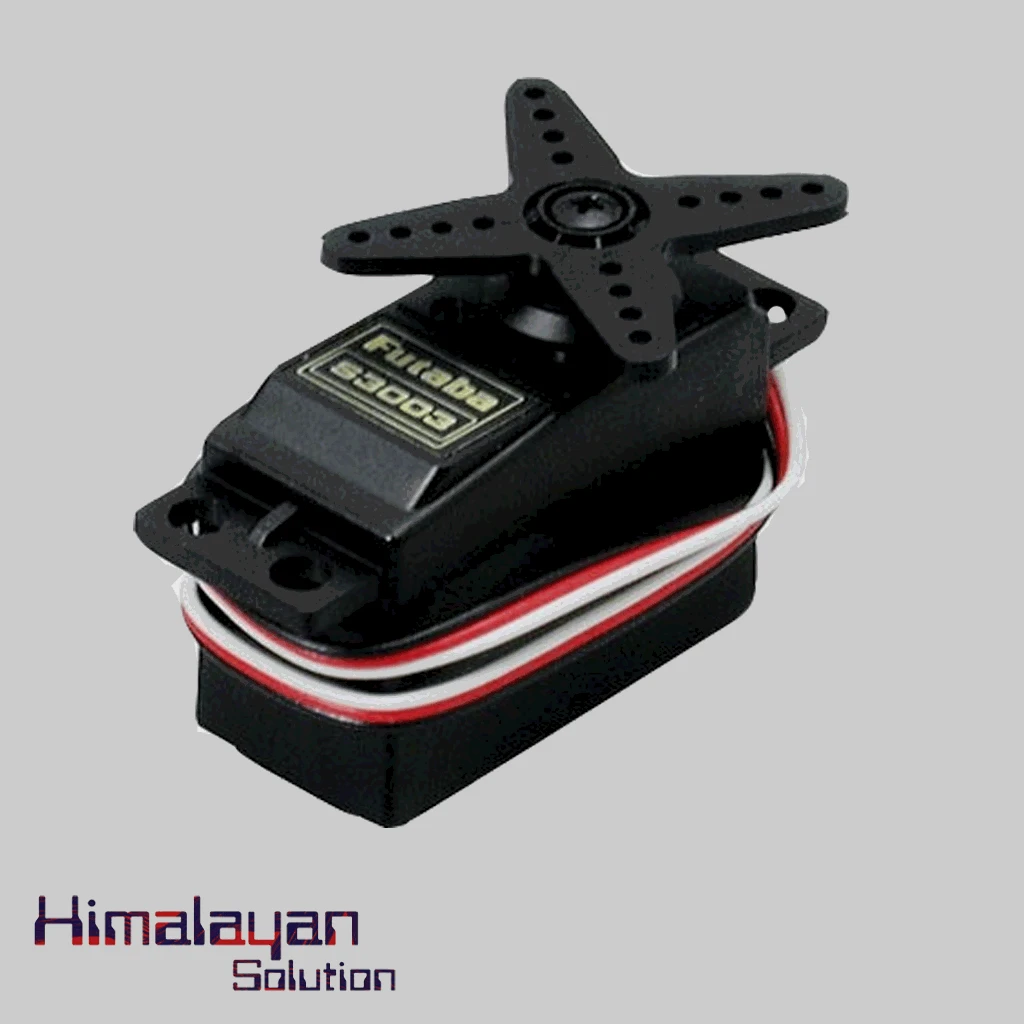
Futaba S3003 Servo Motor
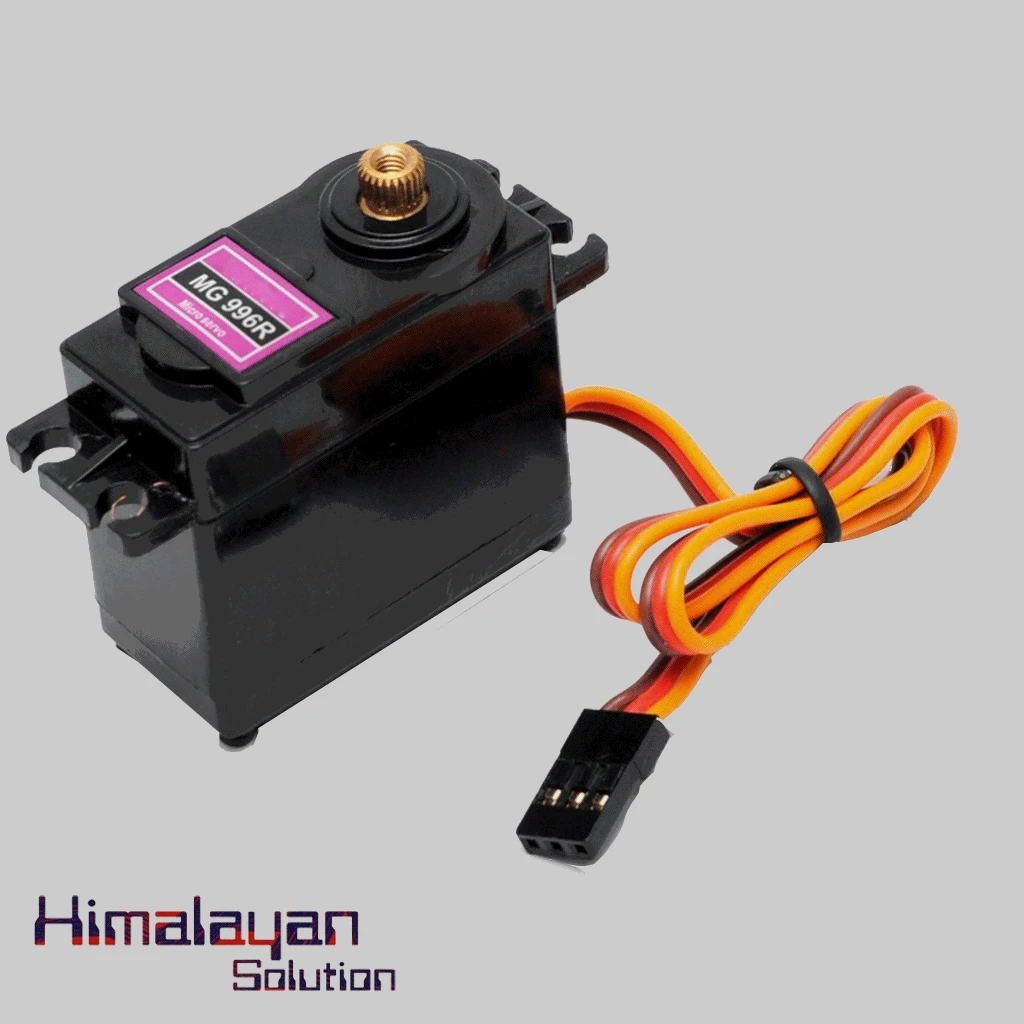
MG996R Servo Motor
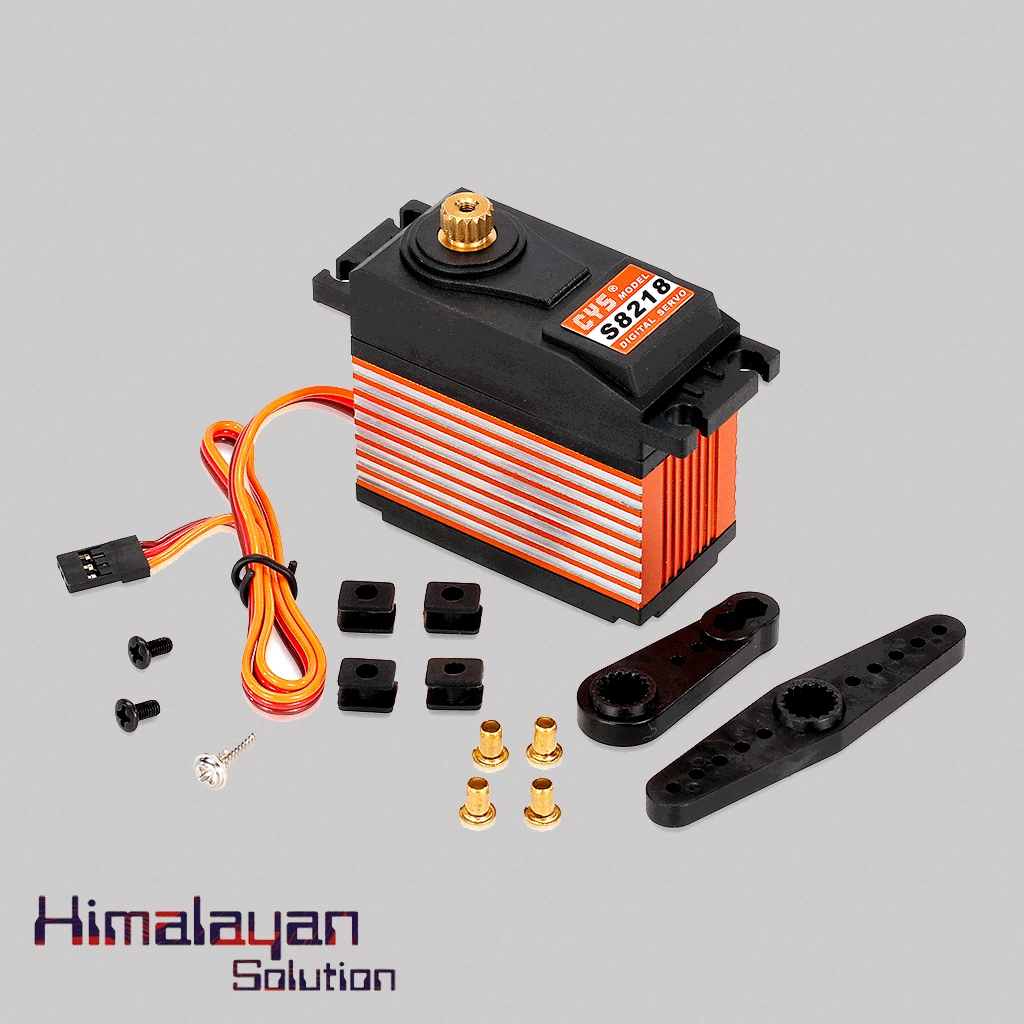
S8218 Digital Servo Motor 40kg
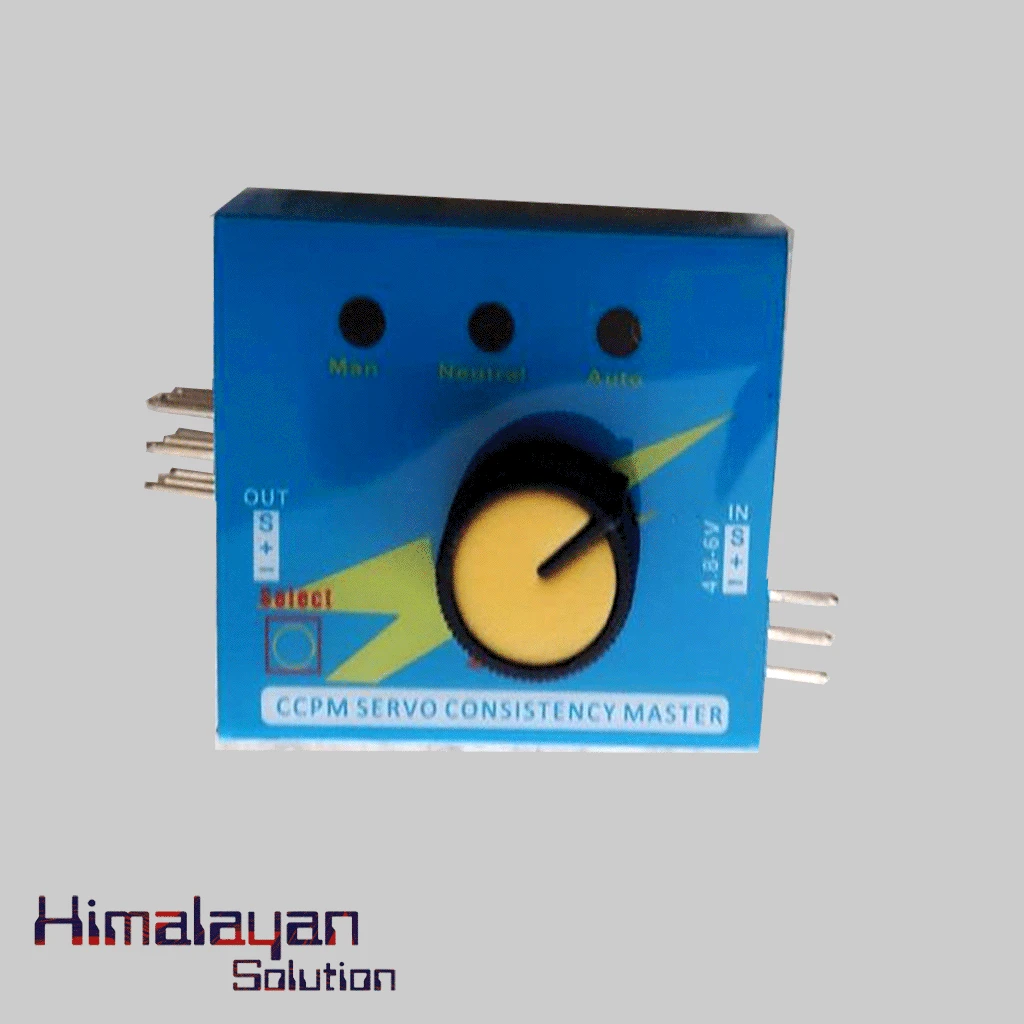
Servo Tester

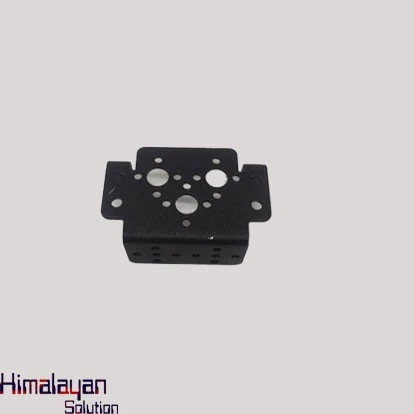
Servo Bracket
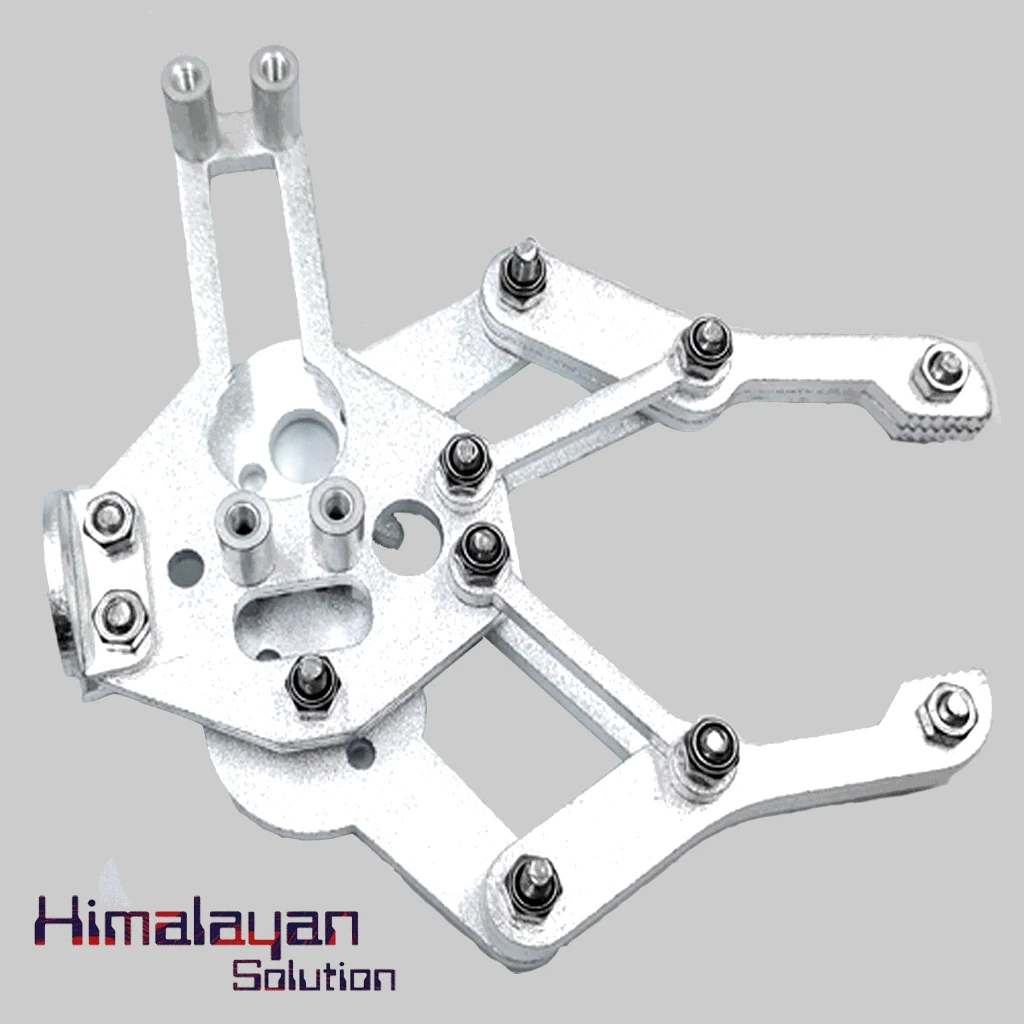
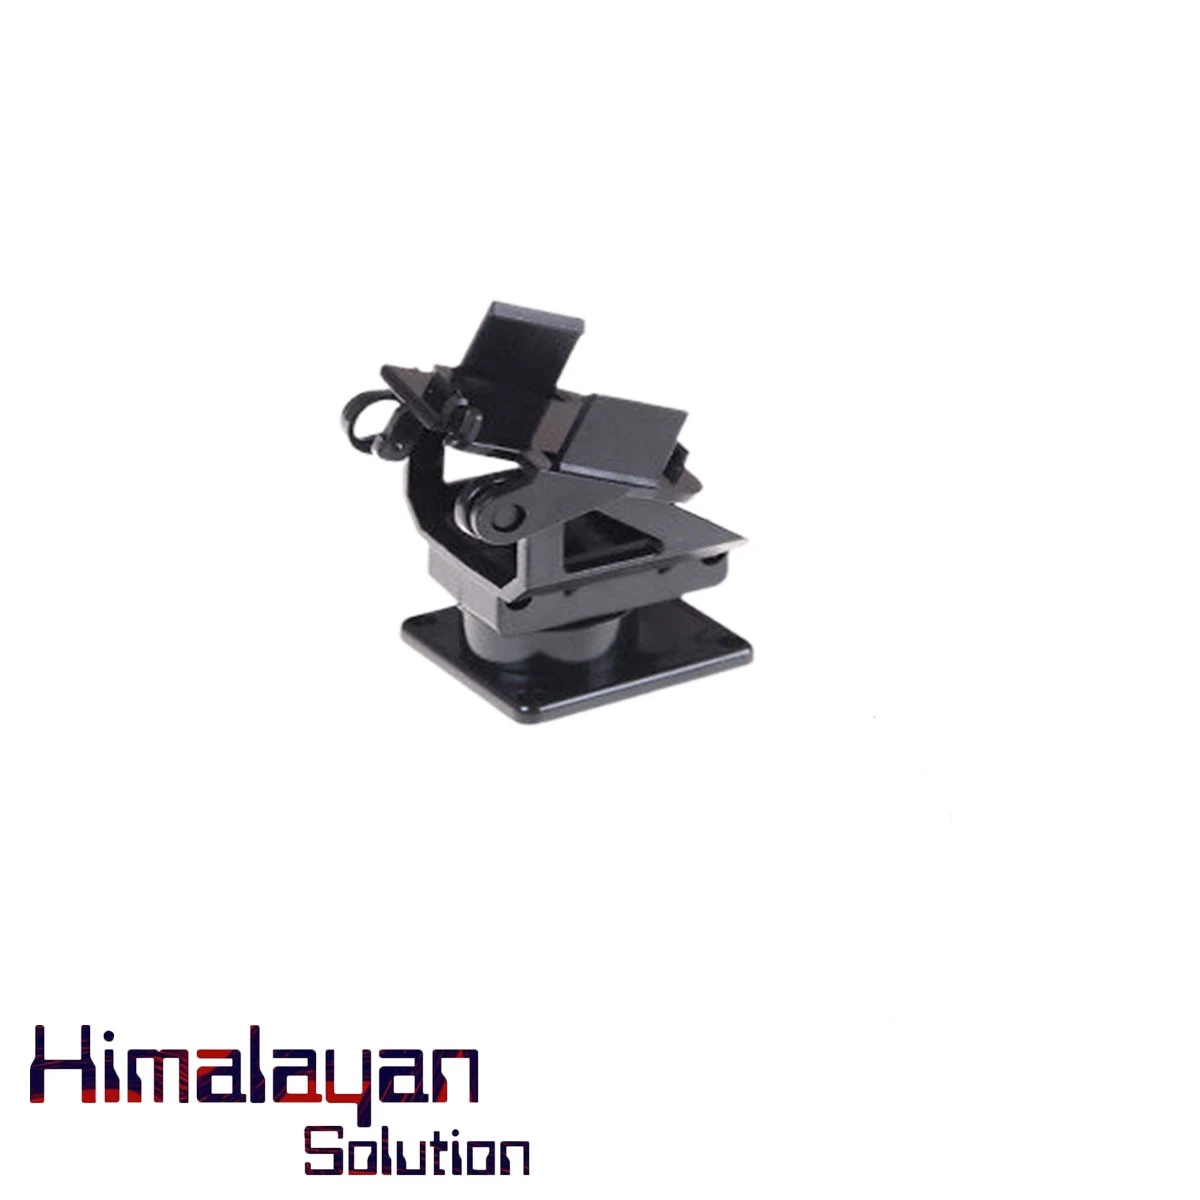
Robotic Arm
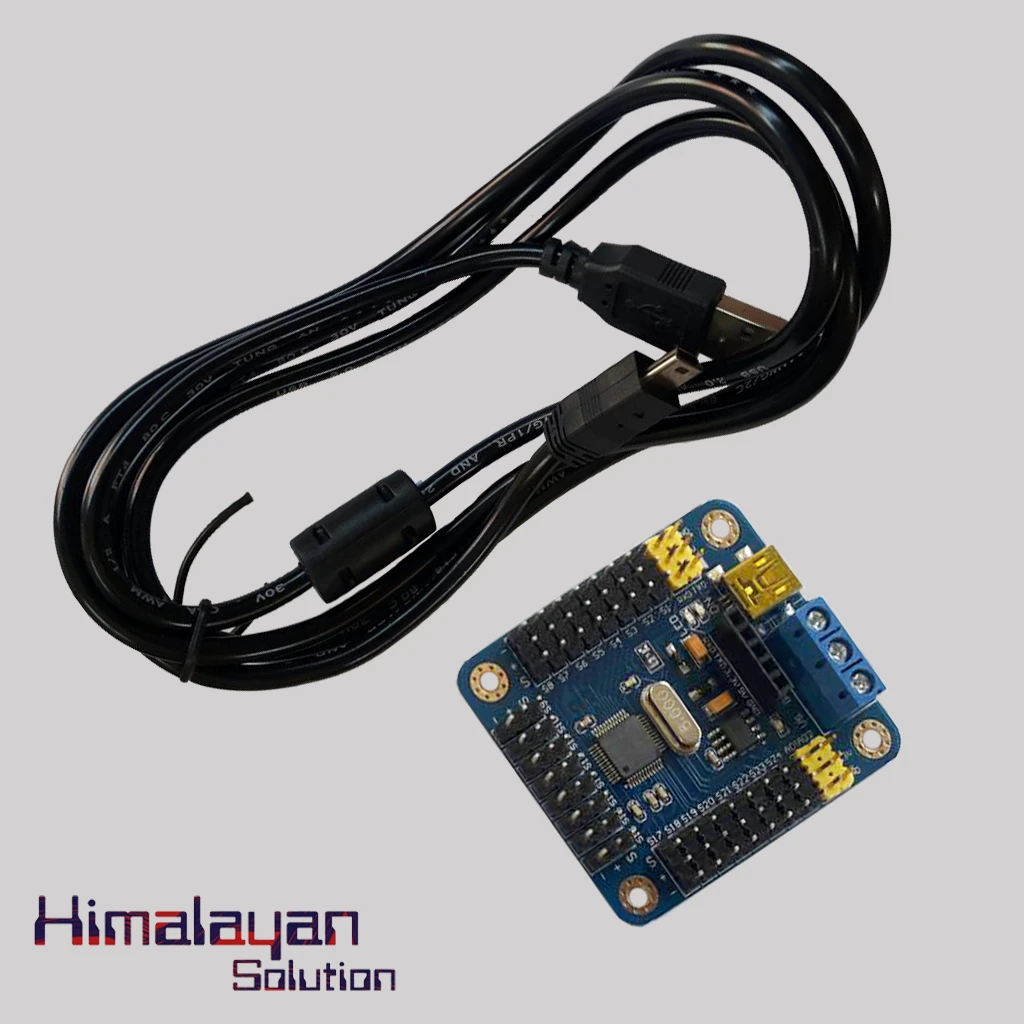
32 Servo Controller
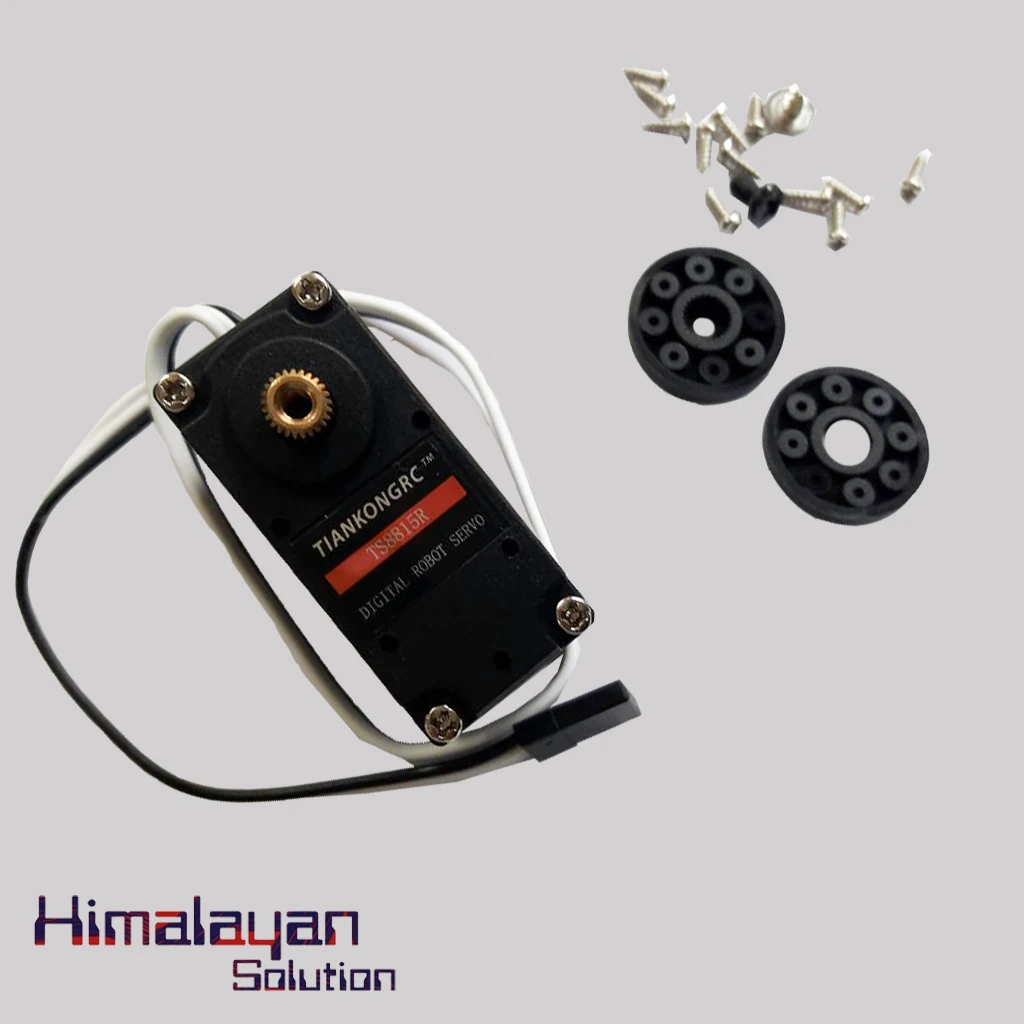
TS8815R Servo Motor
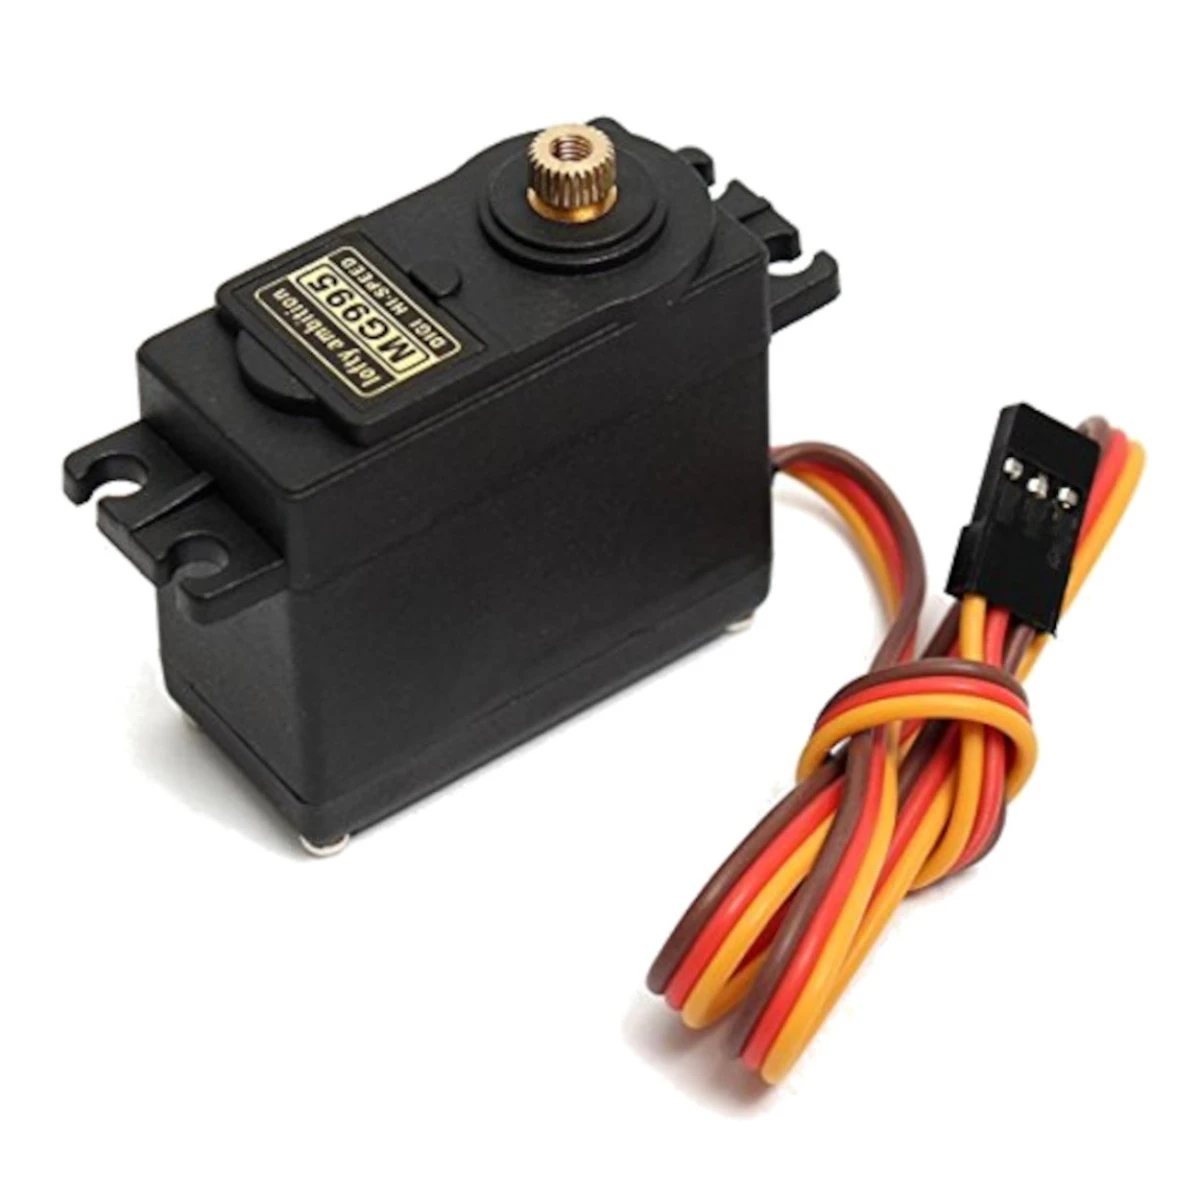
Mg995 Servo Motor
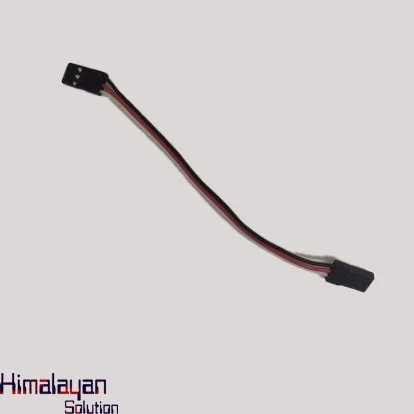
Servo Extension Wire F To F
Mg996 Servo 360
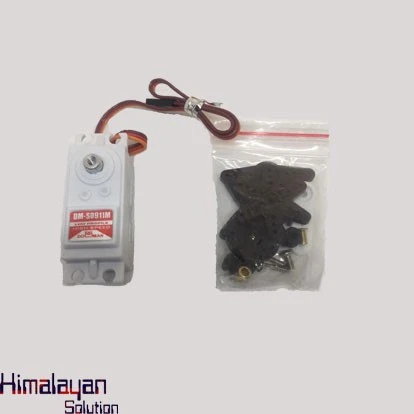
Dm-s0911m Servo Motor
Servo Bracket Single
Servo Bracket Small
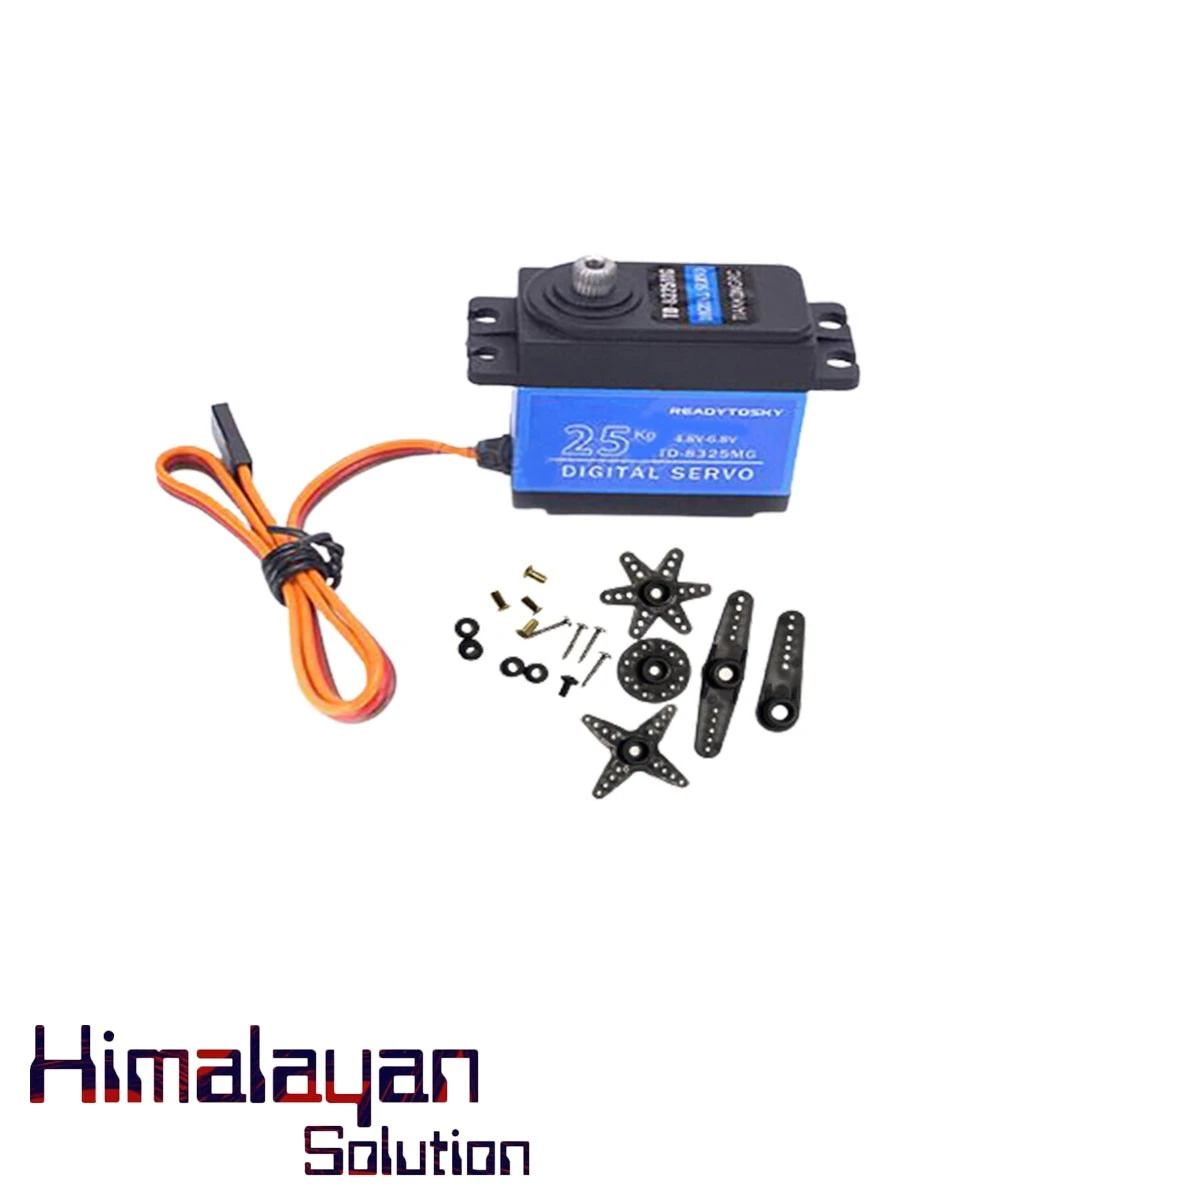
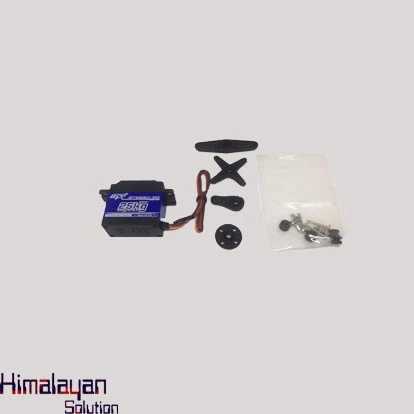
25kg Servo Motor
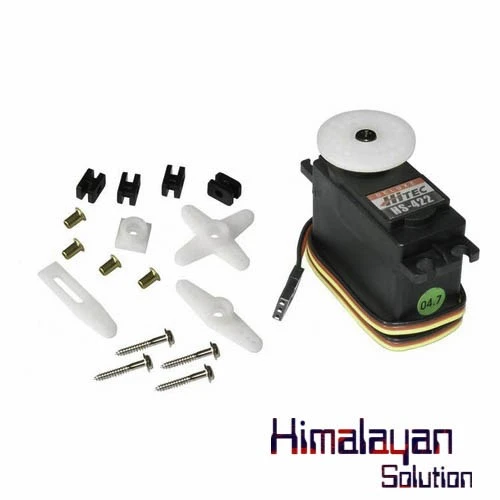
HS-422 Servo Motor

Servo Extention Wire 50cm
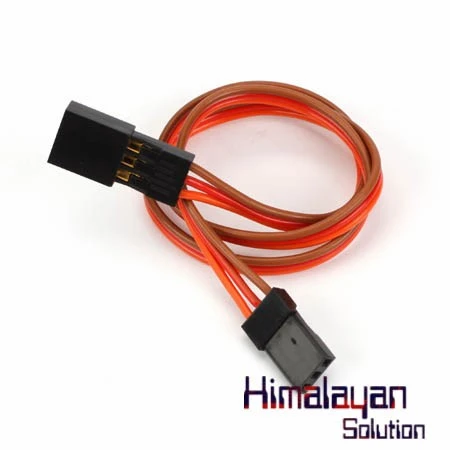
Servo Extention Wire 30cm
Frequently Bought Together
No frequently bought products found!
Products from this Seller
View All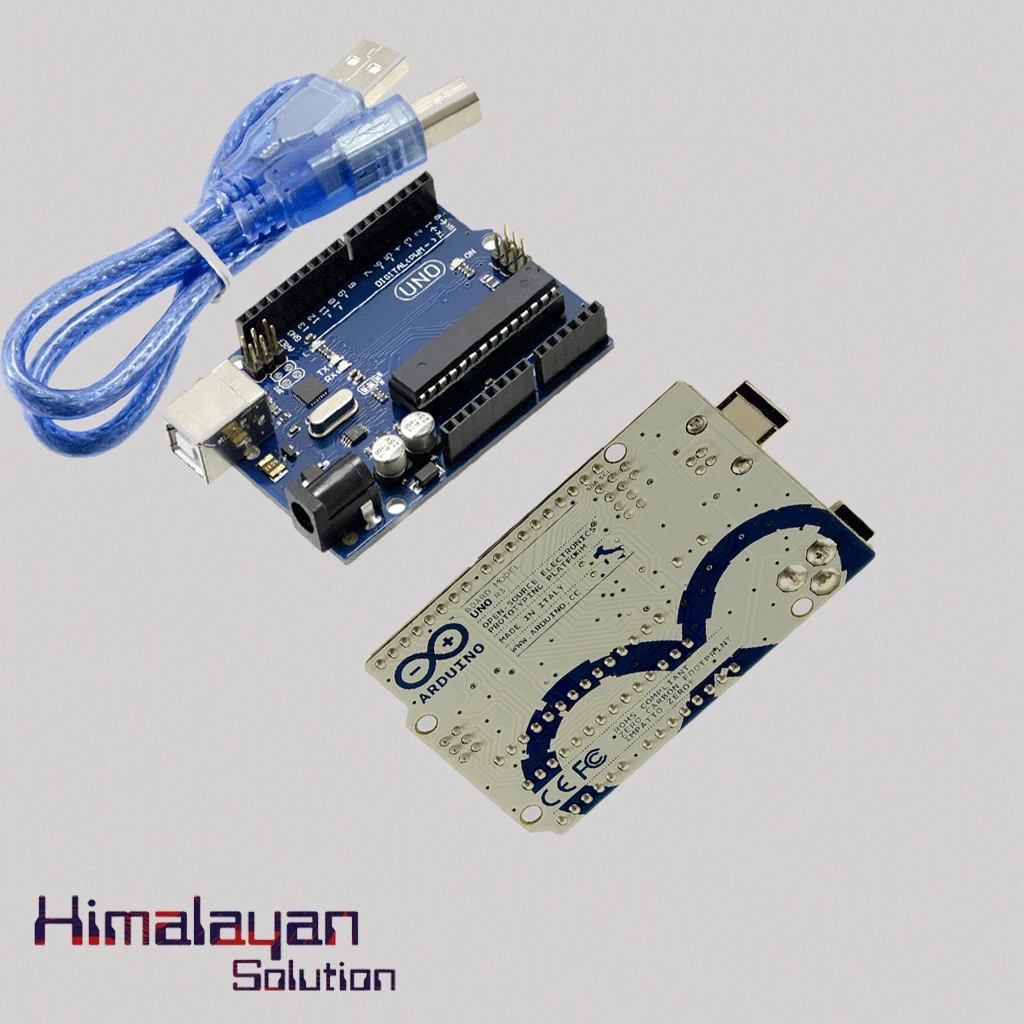

Arduino Uno R3 - Original Made in Italy with cable
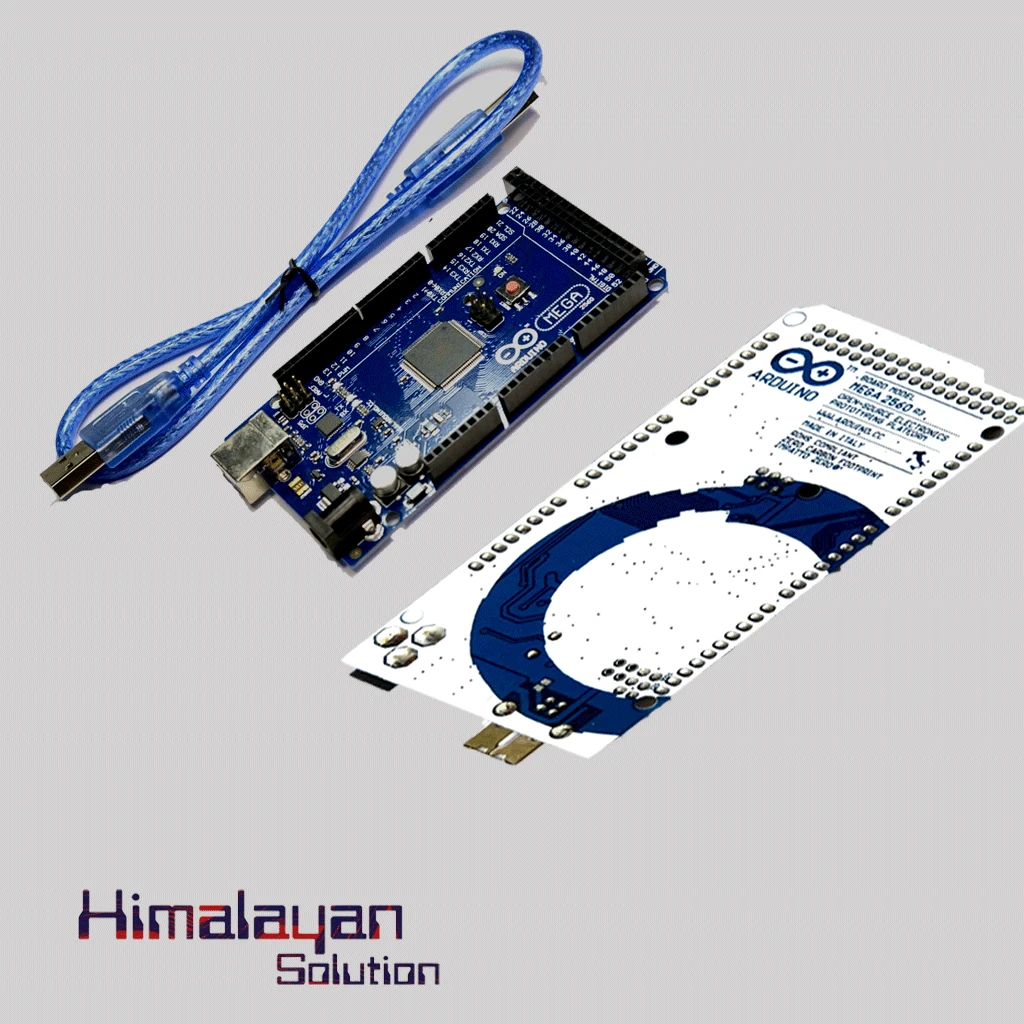

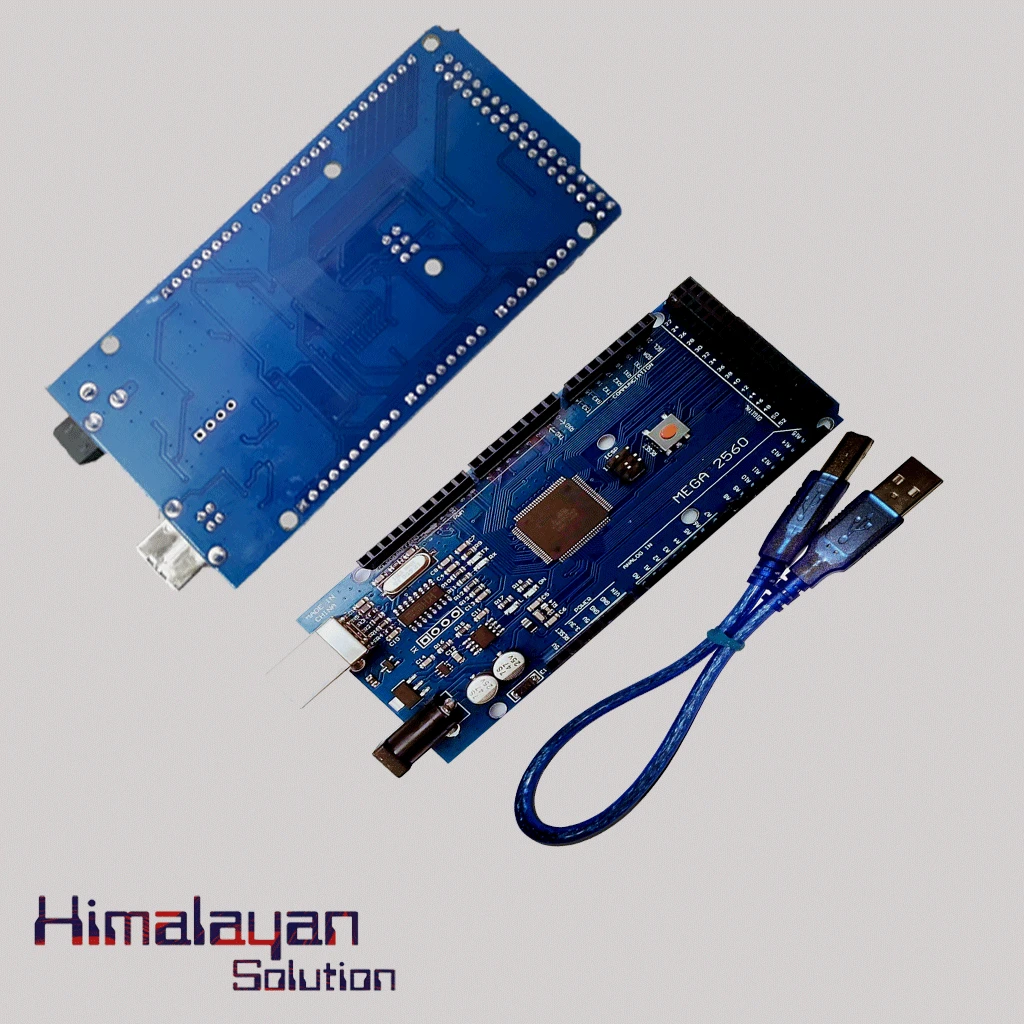
Arduino Mega 2560
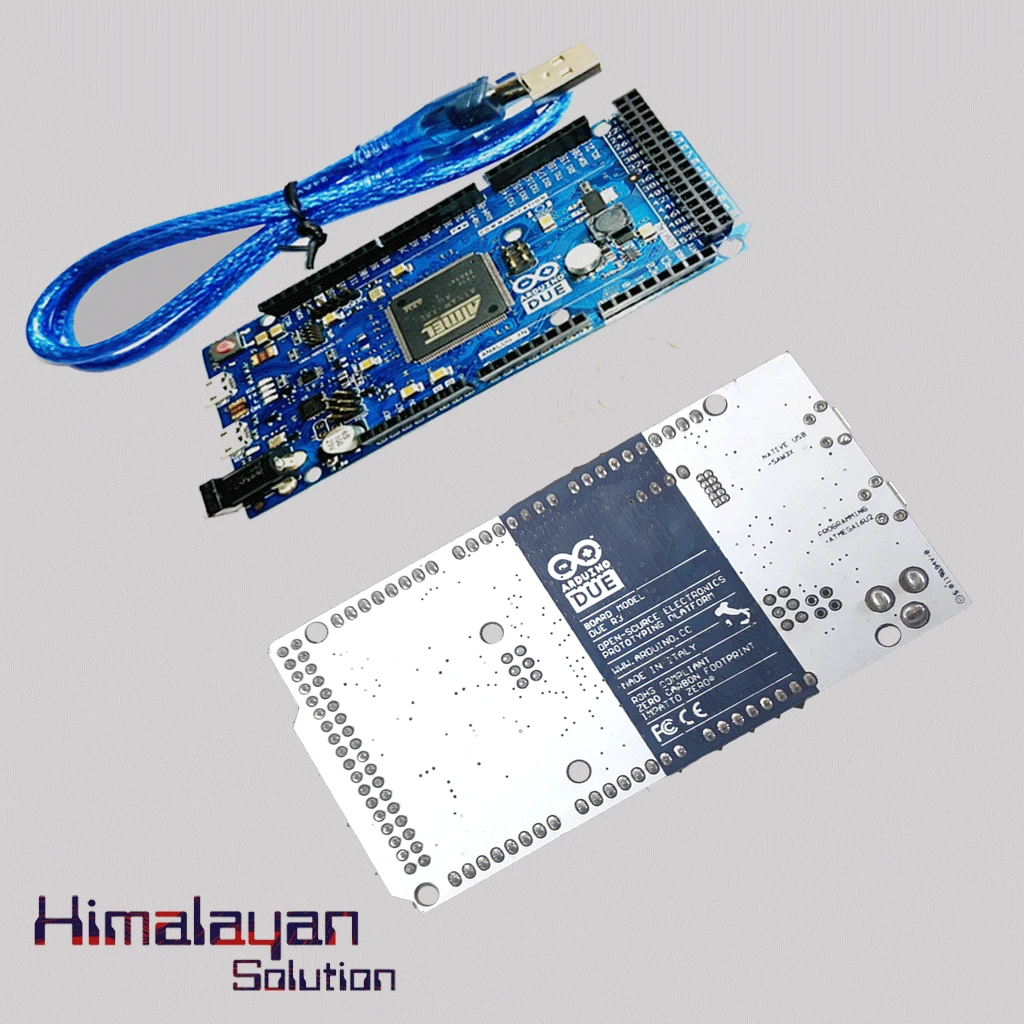

Arduino Due Board
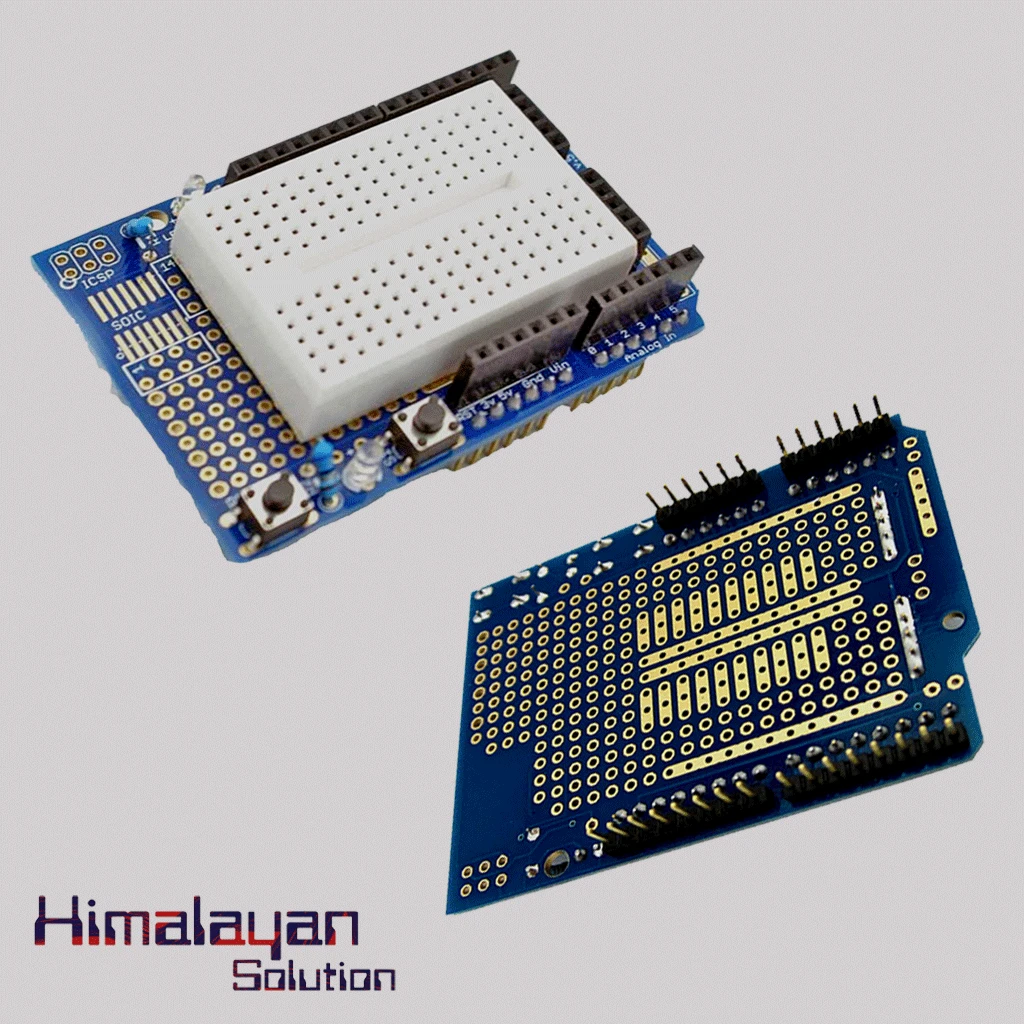

Arduino Uno Protype Shield
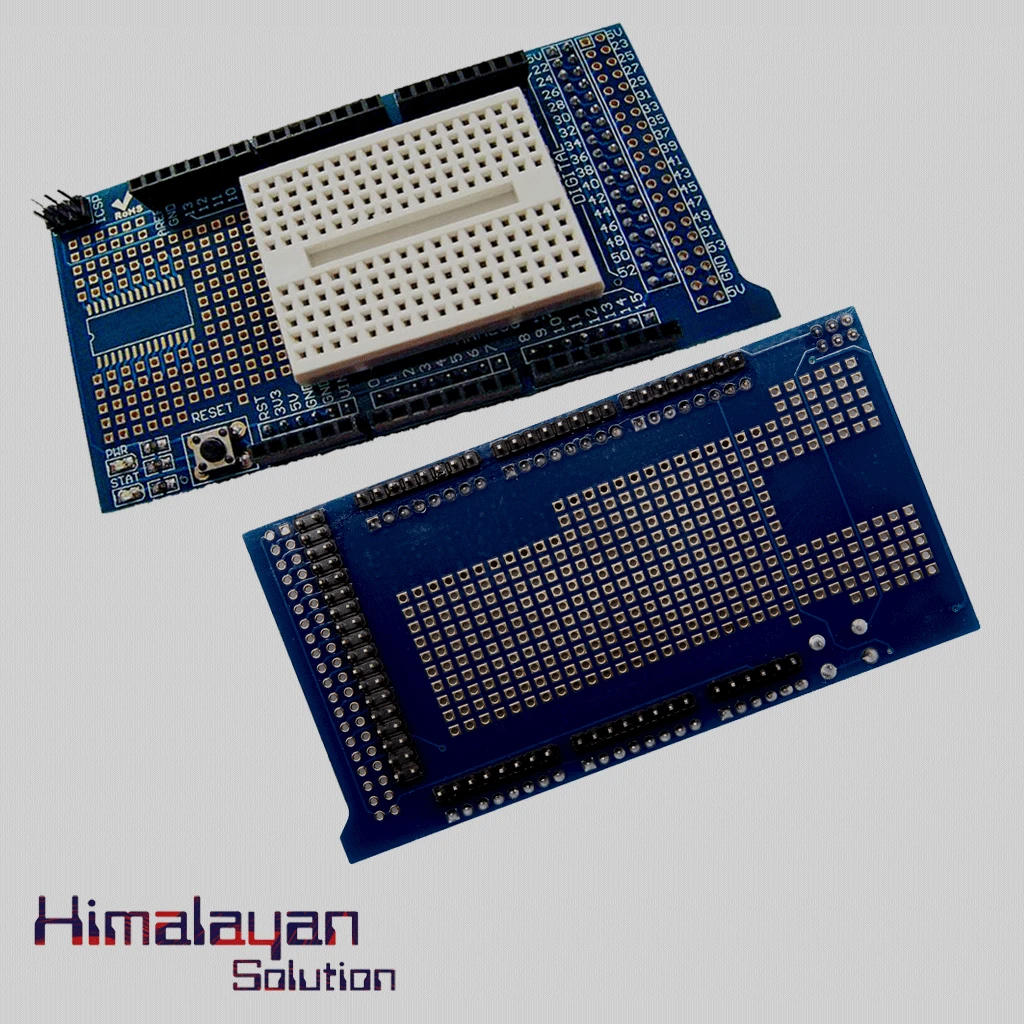
Arduino Mega Protype shield
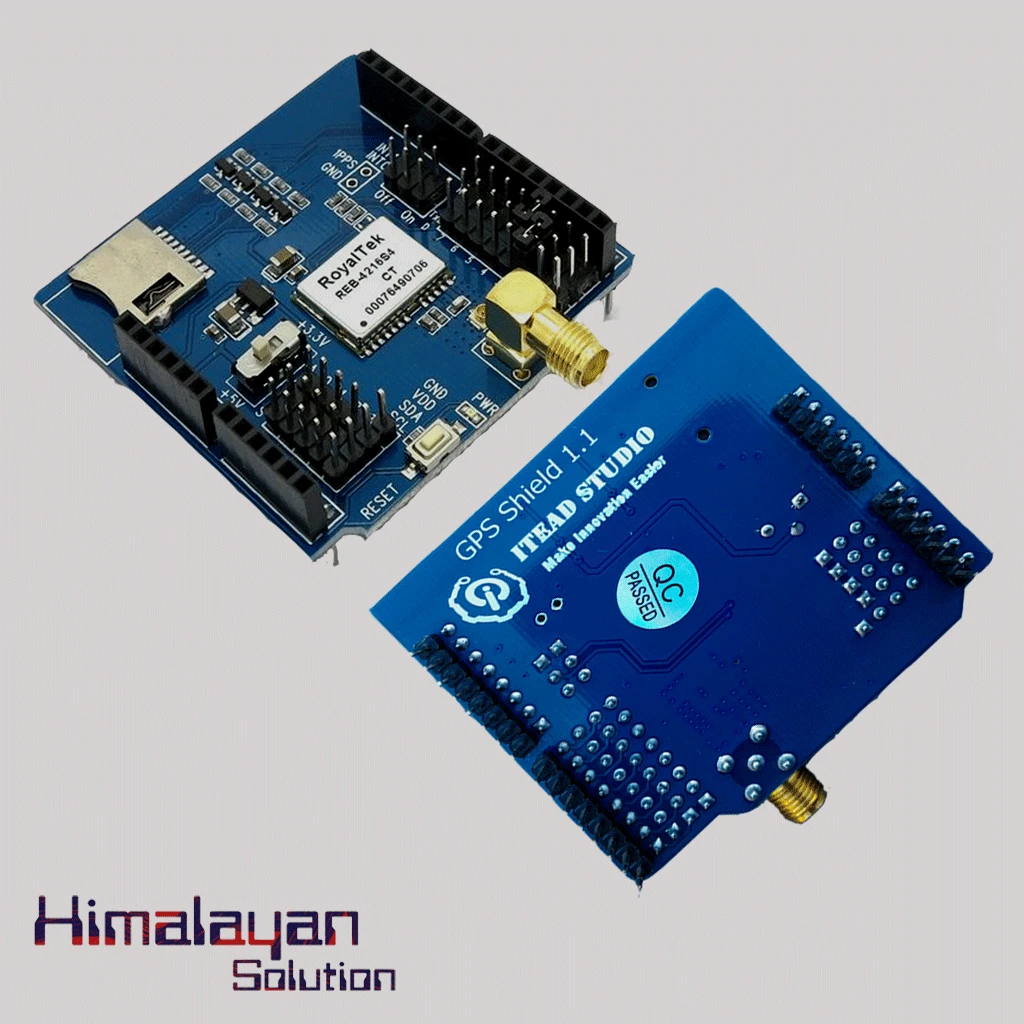
Arduino Gps Sheild


PIR Motion Sensor Detector Module HC SR501


Voltage Sensor Module
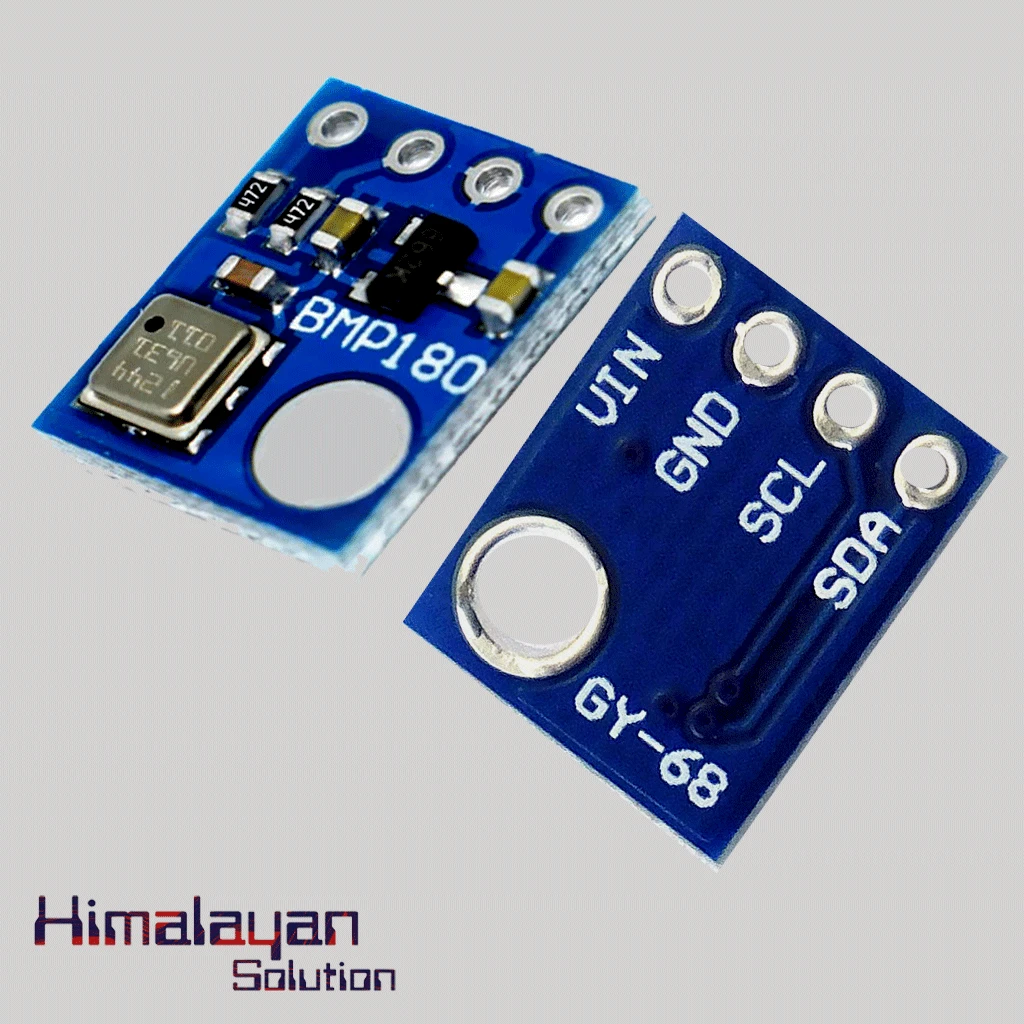

BMP180 Pressure Sensor


Arduino UNO R3 Clone without cable

Arduino Mega 2560 Clone
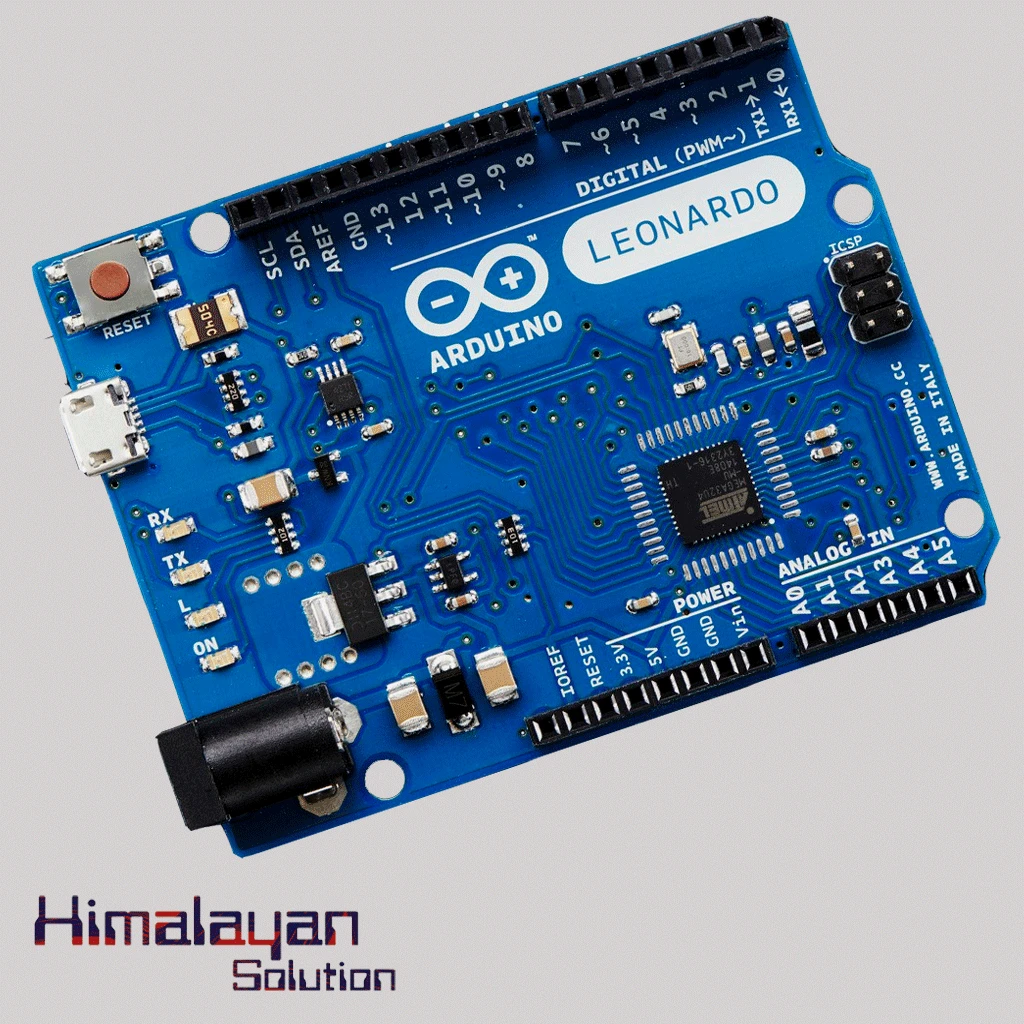
Arduino Leonardo
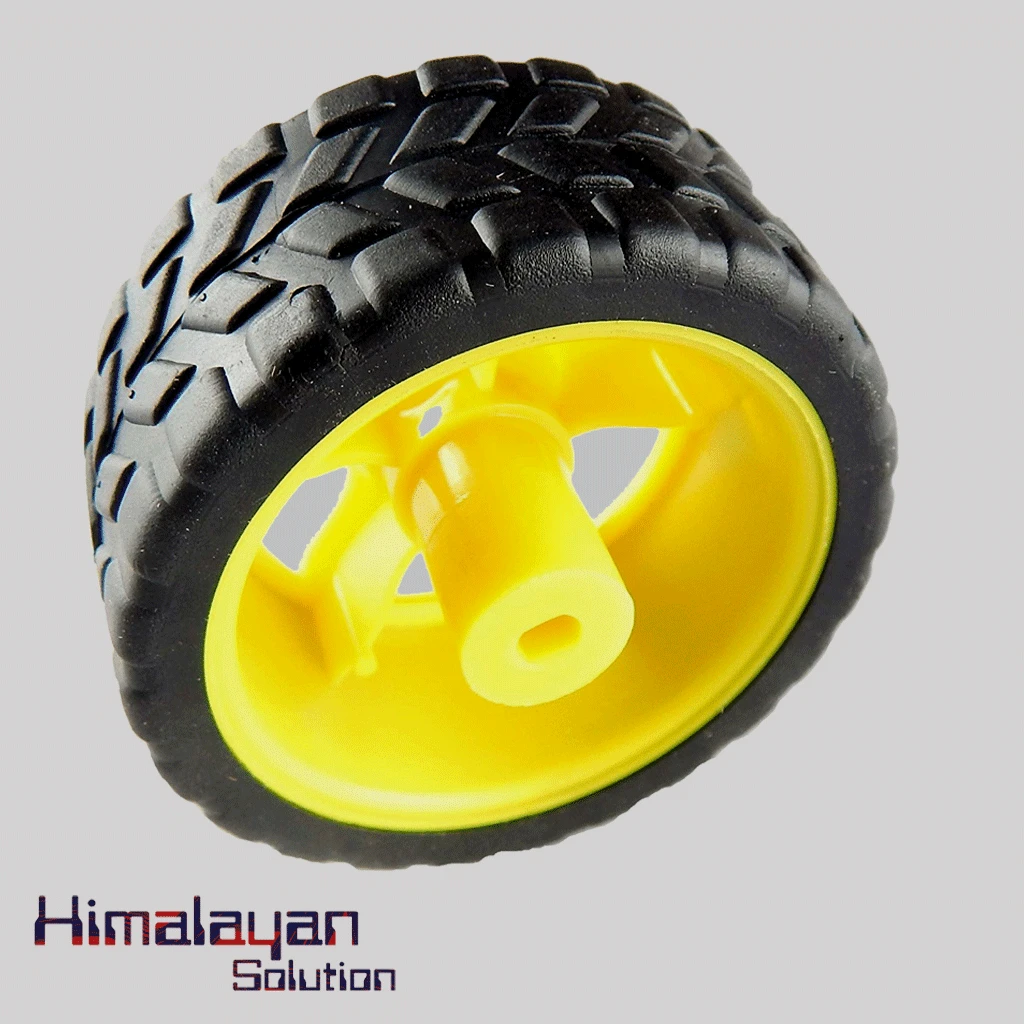

BO Motor Wheel Big
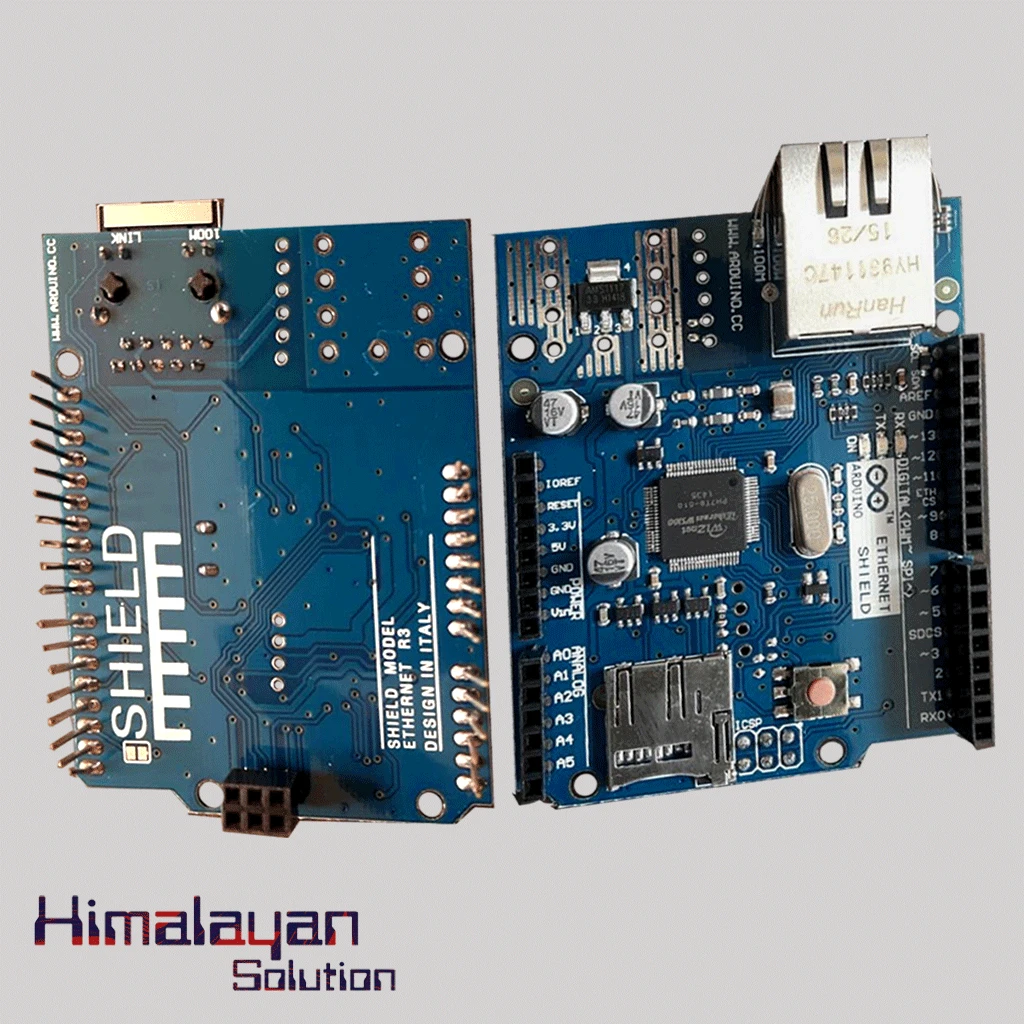

Ardunio Ethernet Shield
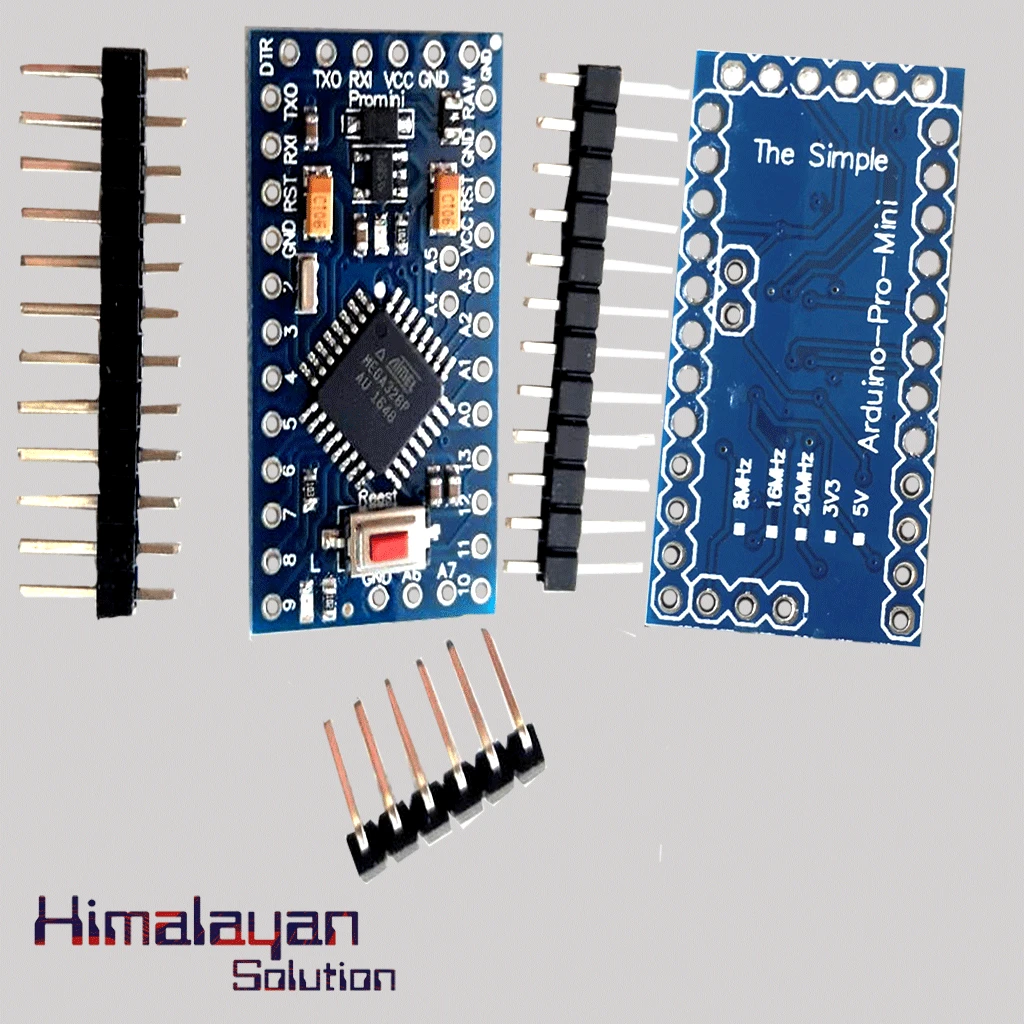

Arduino Pro Mini
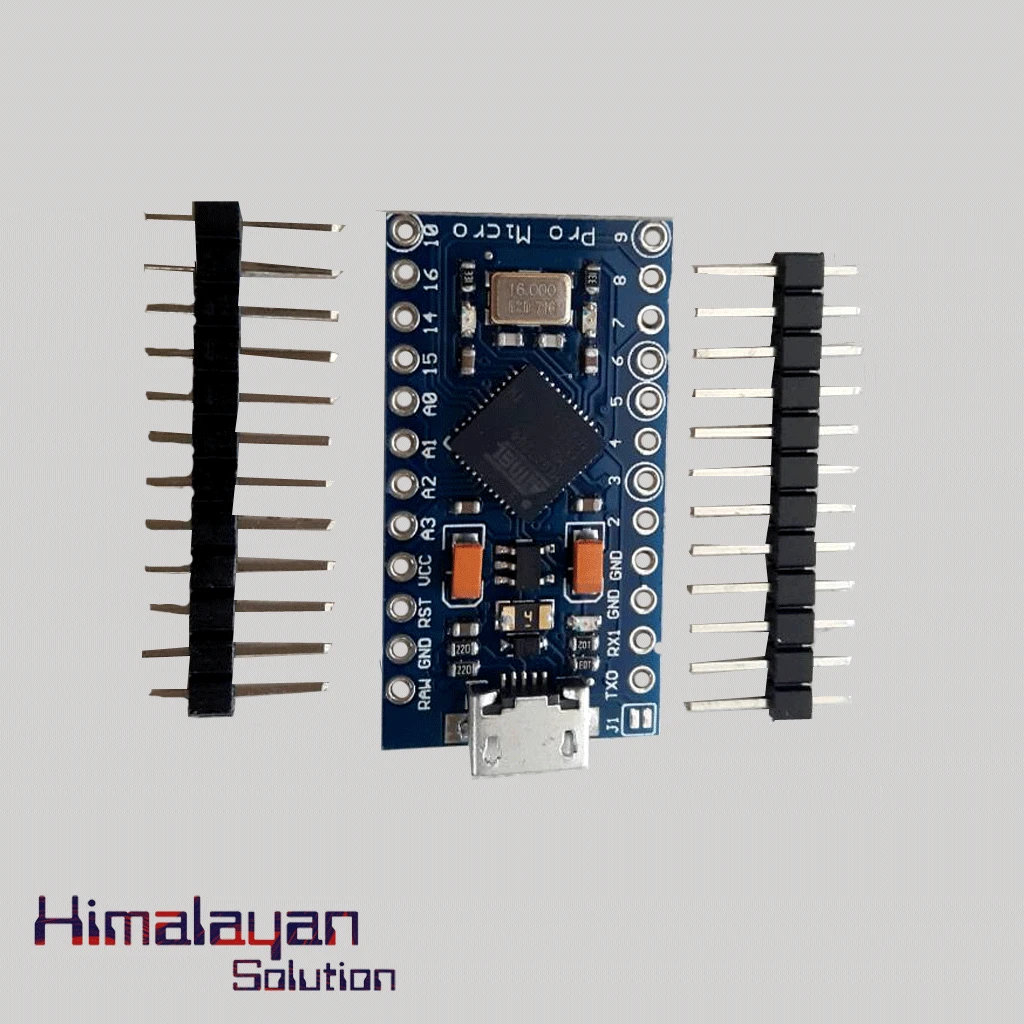
Arduino Pro Micro
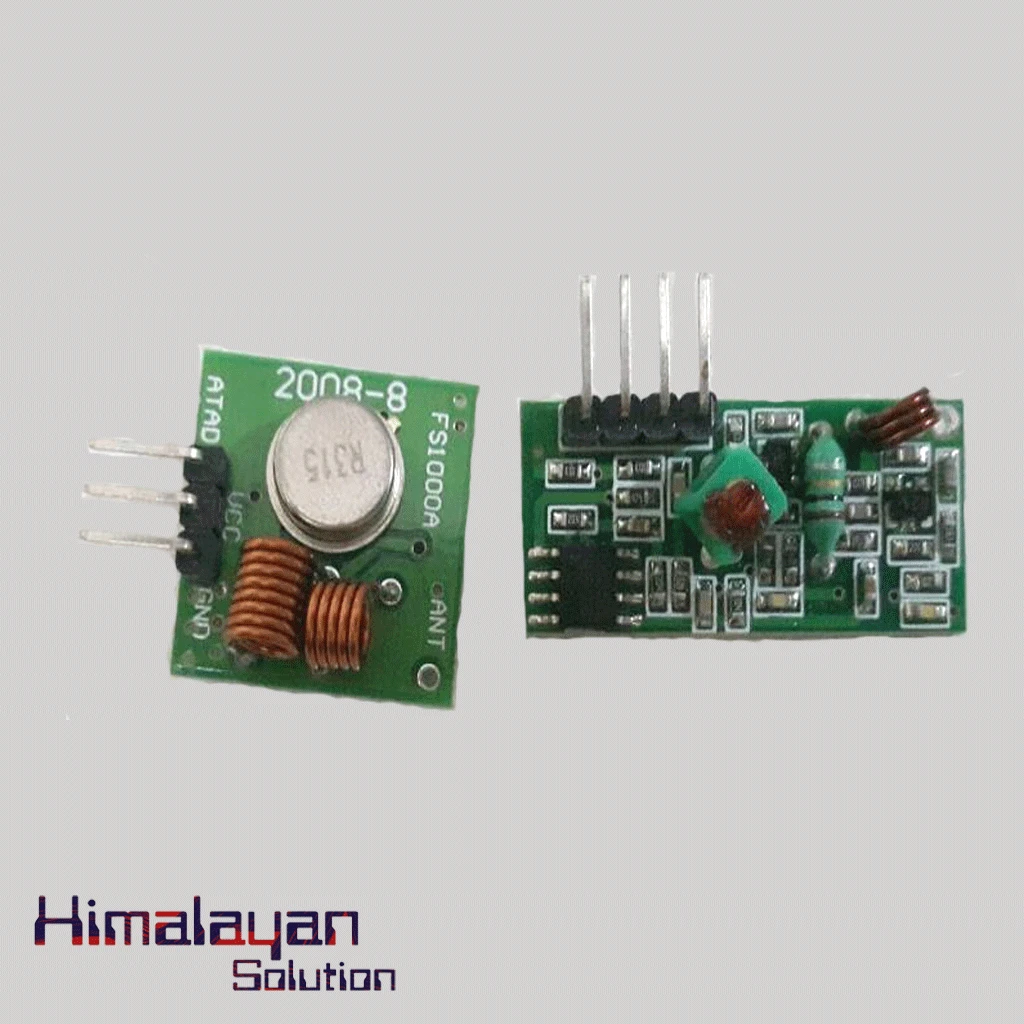
RF Module 315 mhz
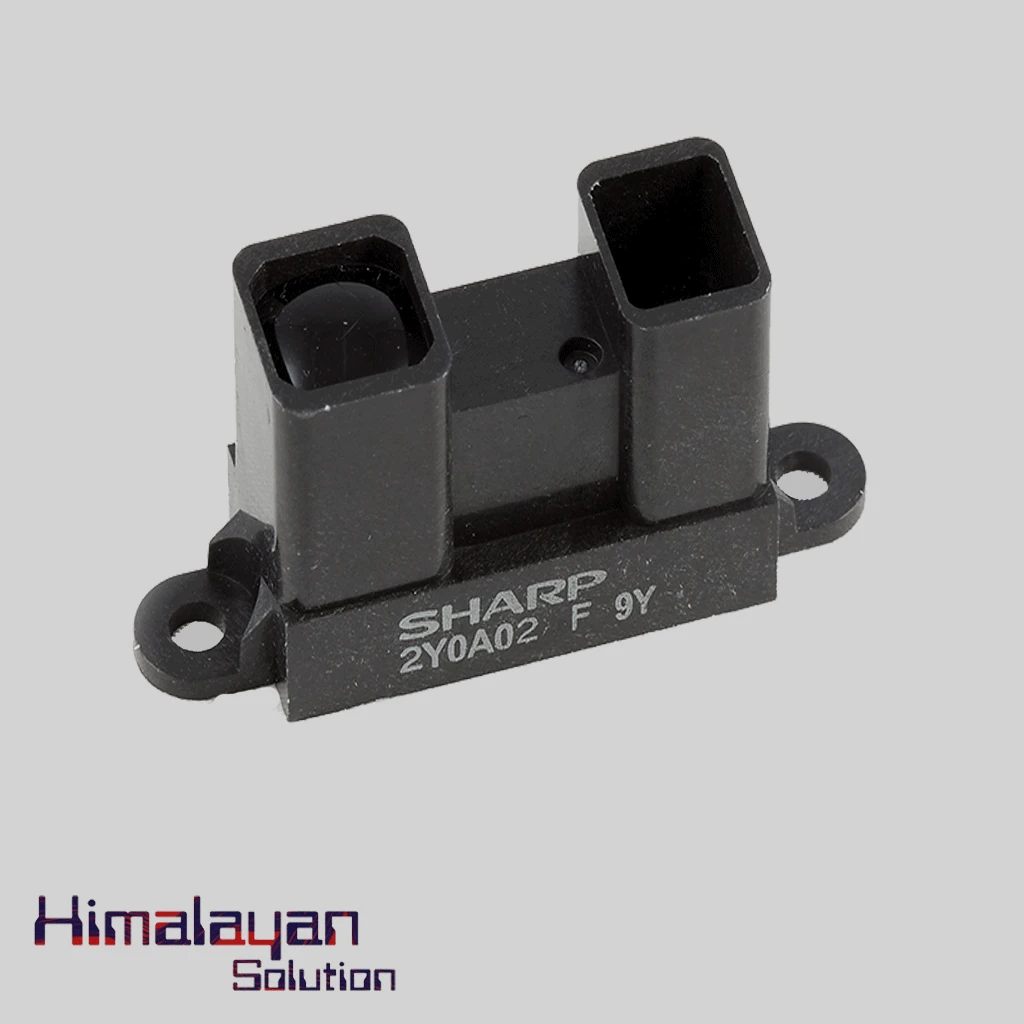
Sharp Distance Sensor 2y0a02
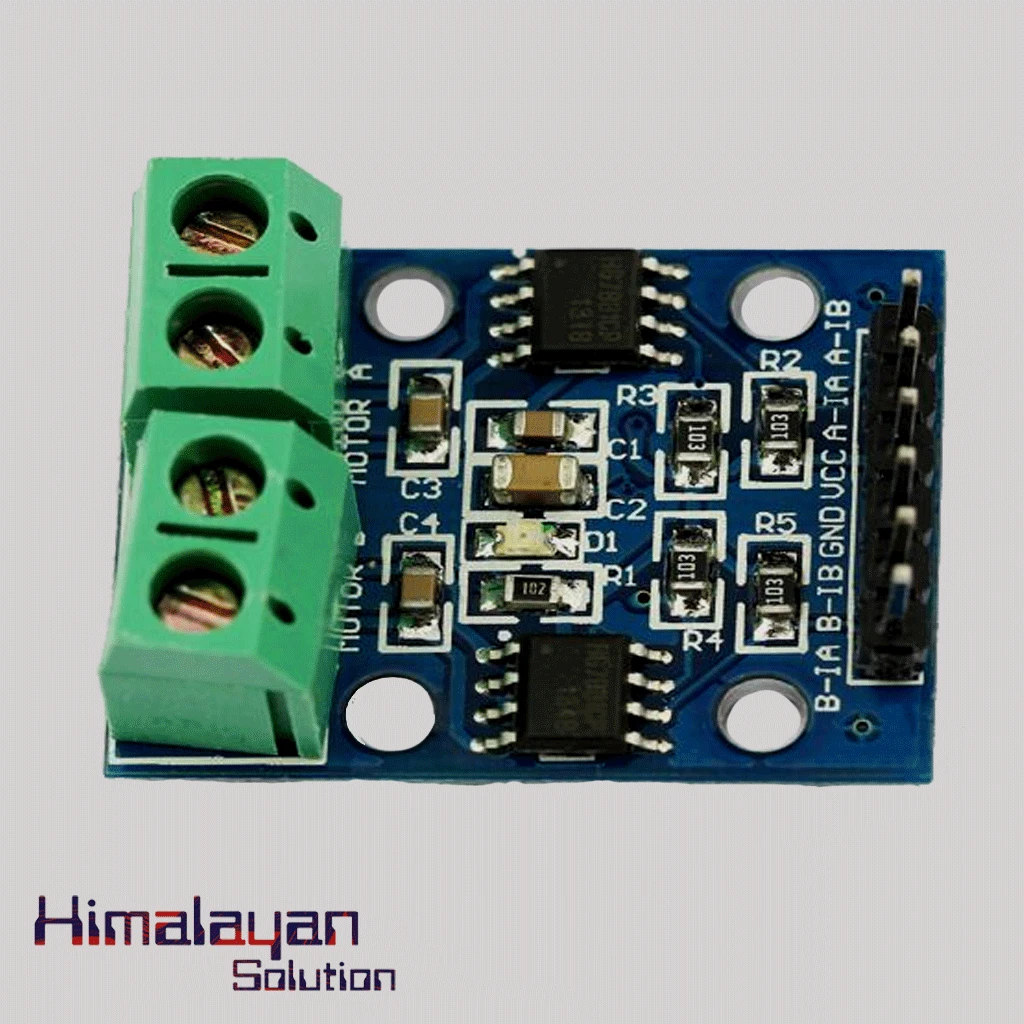
HG7881(L9110) Motor Driver Module
L298N Motor Driver Module
Himalayan Solution - Innovating Nepal Through Technology
Himalayan Solution is Nepal's trusted destination for electronics, robotics, IoT, and engineering components, empowering innovators, students, and industries with cutting-edge technology.
From Arduino and sensors to automation and custom technology solutions, we bridge the gap between ideas and innovation.


Share with Friends
Trading is more effective when you share products with friends!Share you link
Share to