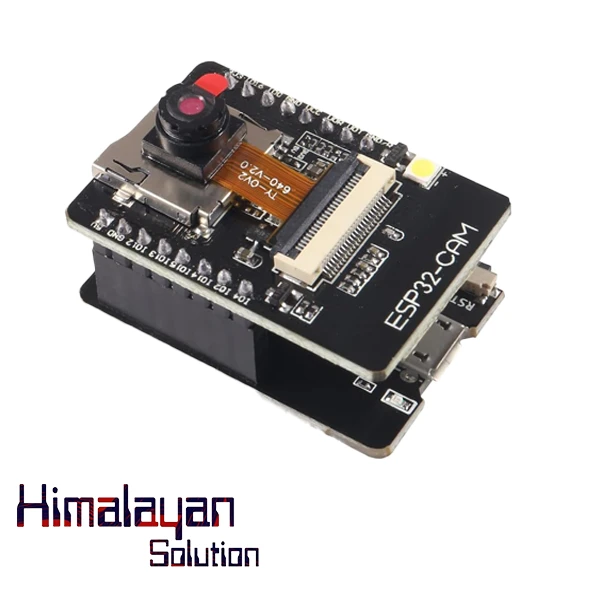


ESP32 CAM Development Board with OV2640 Camera | Wi-Fi & Bluetooth Module
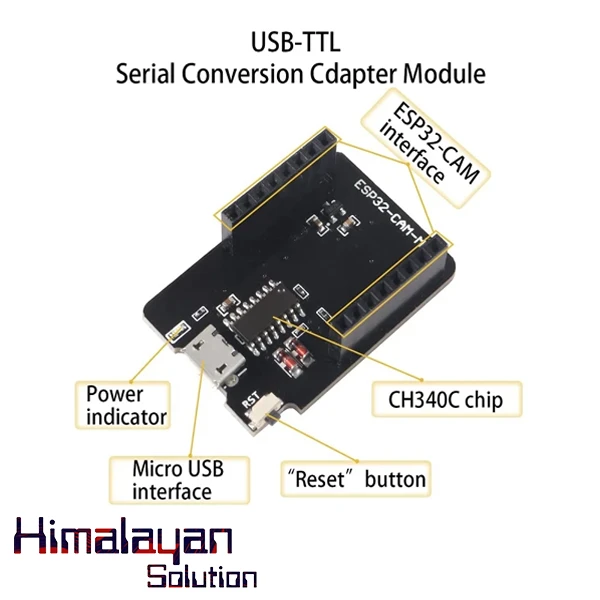
The ESP32-CAM-MB is an improved version of the ESP32-CAM with a USB-to-serial CH340G adapter, making programming much easier since it does not require an external FTDI module. The ESP32-CAM is a small, low-cost development board that integrates an ESP32-S microcontroller with a camera module, making it ideal for image...
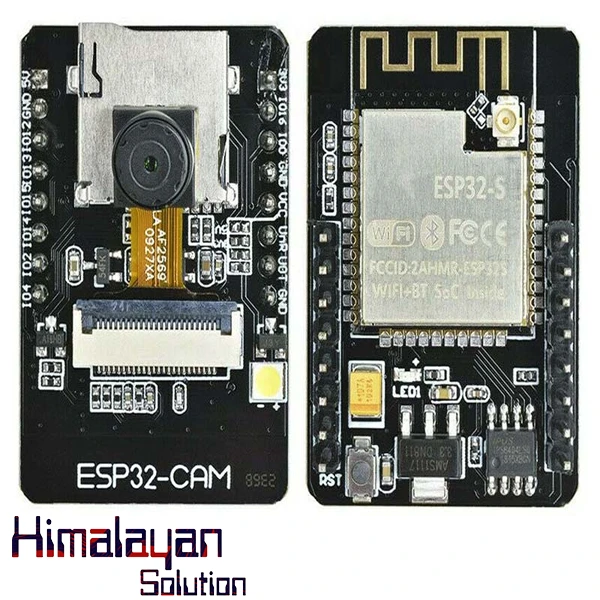
Read moreThe ESP32-CAM-MB is an improved version of the ESP32-CAM with a USB-to-serial CH340G adapter, making programming much easier since it does not require an external FTDI module. The ESP32-CAM is a small, low-cost development board that integrates an ESP32-S microcontroller with a camera module, making it ideal for image processing, video streaming, and IoT applications. Here are its key features and specifications:
- The smallest 802.11b/g/n Wi-Fi BT SoC module.
- Low power 32-bit CPU, can also serve the application processor.
- Up to 160MHz clock speed, summary computing power up to 600 DMIPS.
- Built-in 520 KB SRAM, external 4MPSRAM.
- Supports UART/SPI/I2C/PWM/ADC/DAC.
- Support OV2640 and OV7670 cameras, built-in flash lamp.
- Support image WiFI upload.
- Supports TF card.
- Supports multiple sleep modes.
- Embedded FreeRTOS.
- Supports STA/AP/STA+AP operation mode.
Programming the ESP32 CAM Board:
Note: You need to connect IO0 and GND by soldering (jumper wires or a separate switch) before connecting the module to the computer for the code to upload successfully.
1. Required Components
- ESP32-CAM-MB module (with CH340G USB-to-serial)
- USB-C or Micro-USB cable (depending on your board version)
- Arduino IDE (or ESP-IDF)
2. Install CH340G USB Driver (If Needed)
- Download and install the CH340G driver for Windows/Mac/Linux if the board is not detected.
- Download CH340 Driver
- Check the COM port in Device Manager (Windows) or
ls /dev/ttyUSB*(Linux/Mac).
3. Install ESP32 Board Support in Arduino IDE
- Open Arduino IDE.
- Go to File → Preferences.
- In "Additional Board Manager URLs", add:
https://dl.espressif.com/dl/package_esp32_index.json - Click OK, then go to Tools → Board → Boards Manager.
- Search for ESP32 by Espressif Systems and install it.
4. Select the Board & Port
- Go to Tools → Board → Select "AI-Thinker ESP32-CAM".
- Set Upload Speed to 115200.
- Select the correct COM Port (e.g., COM3/COM4 on Windows or
/dev/ttyUSB0on Linux).
5. Upload Example Code
- Open File → Examples → ESP32 → Camera → CameraWebServer.
- Modify the camera model in
camera_pins.h:#define CAMERA_MODEL_AI_THINKER // Uncomment this for ESP32-CAM-MB - Click Upload.
Tip: If the upload fails, press and hold the RST (Reset) button while clicking Upload.
Specifications
9Downloads & Resources
1Related products
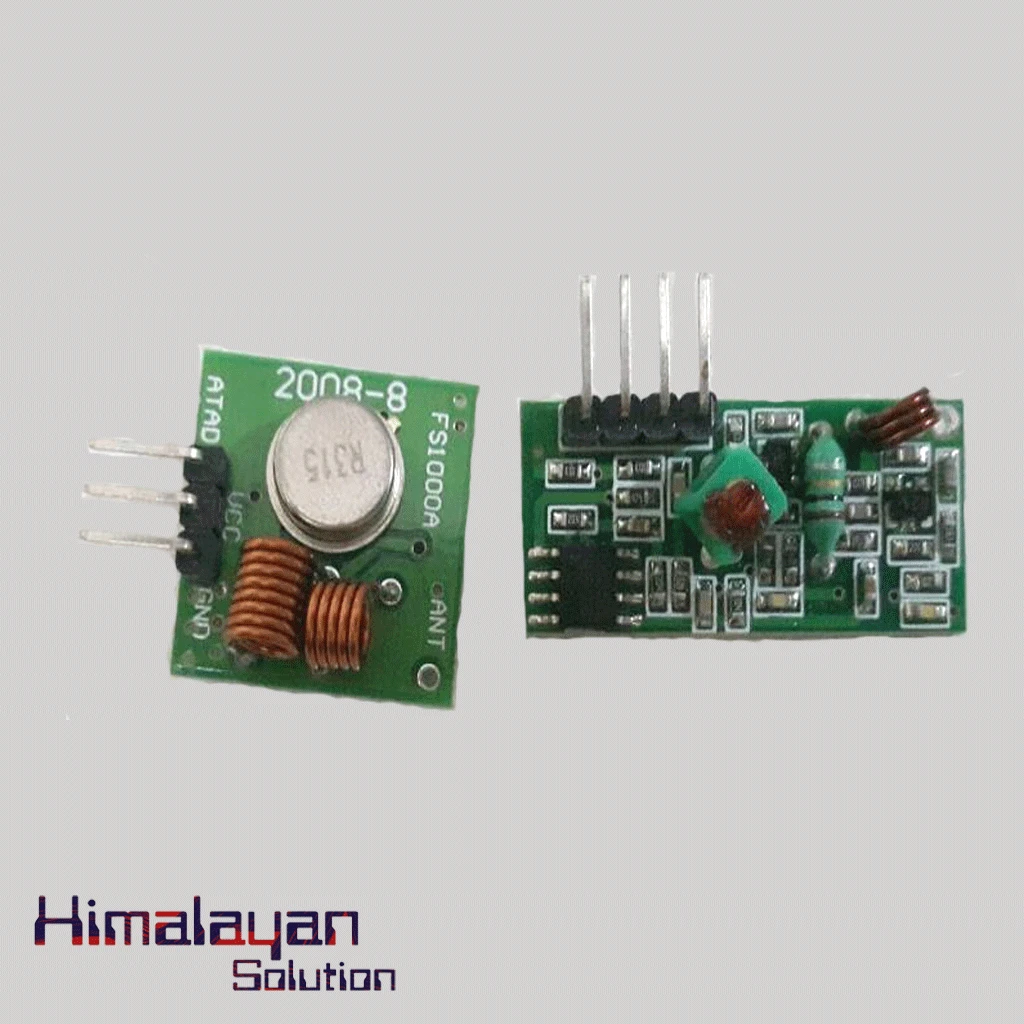
RF Module 315 mhz
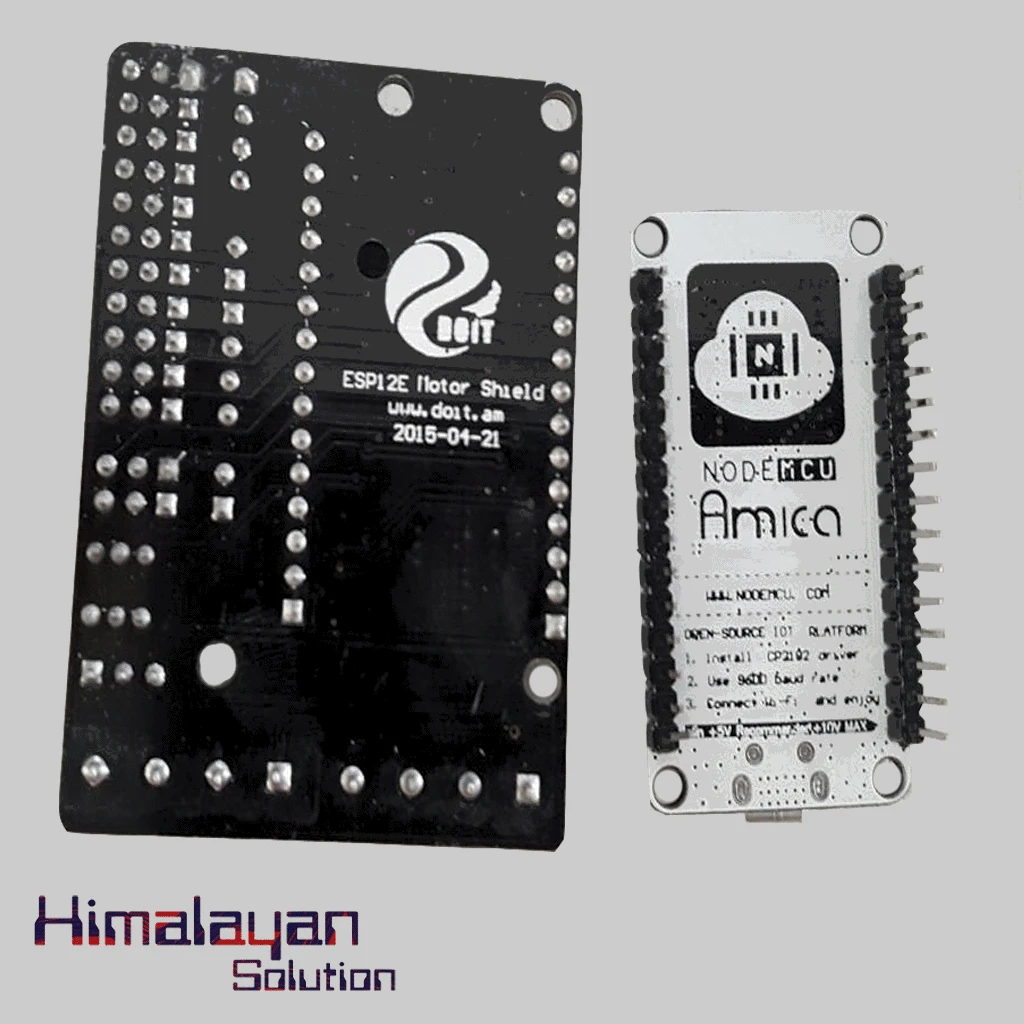

Esp 12 Motor Shield
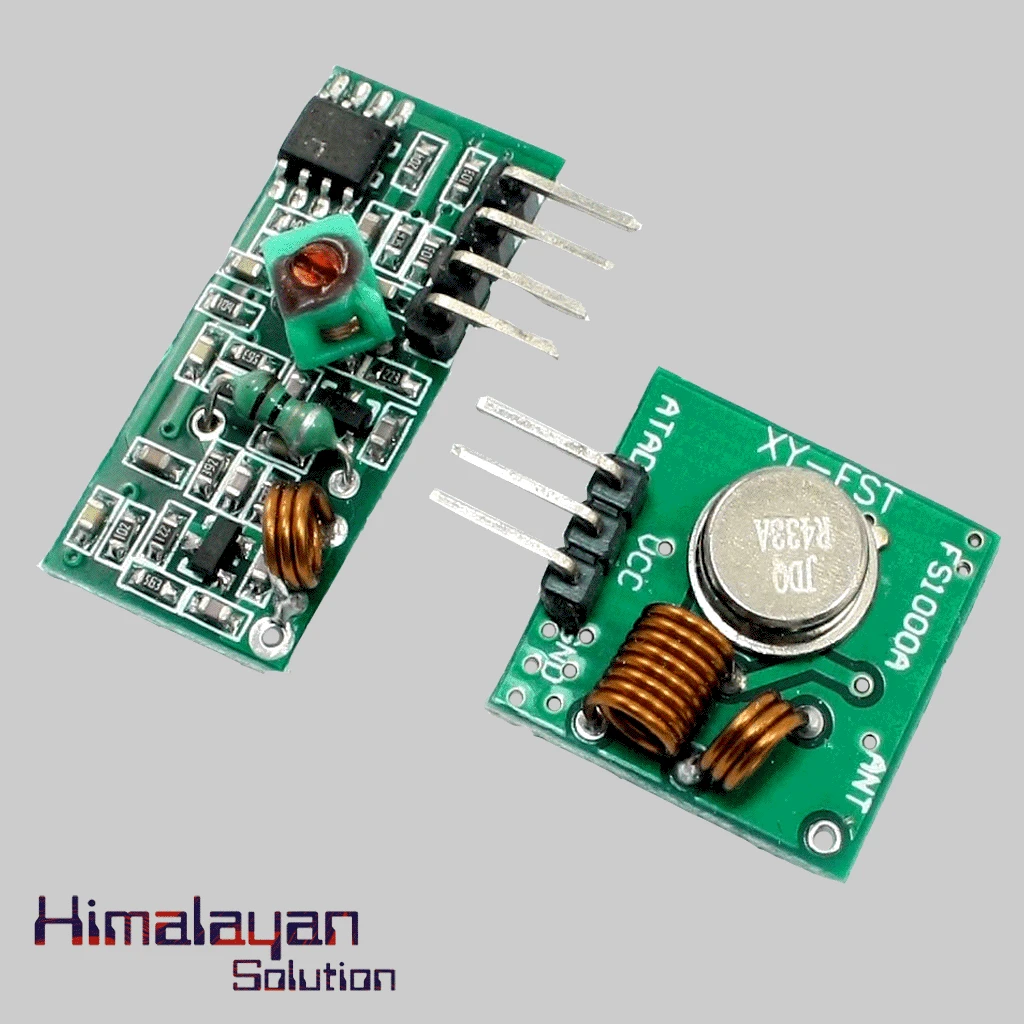
RF Module 433 Mhz
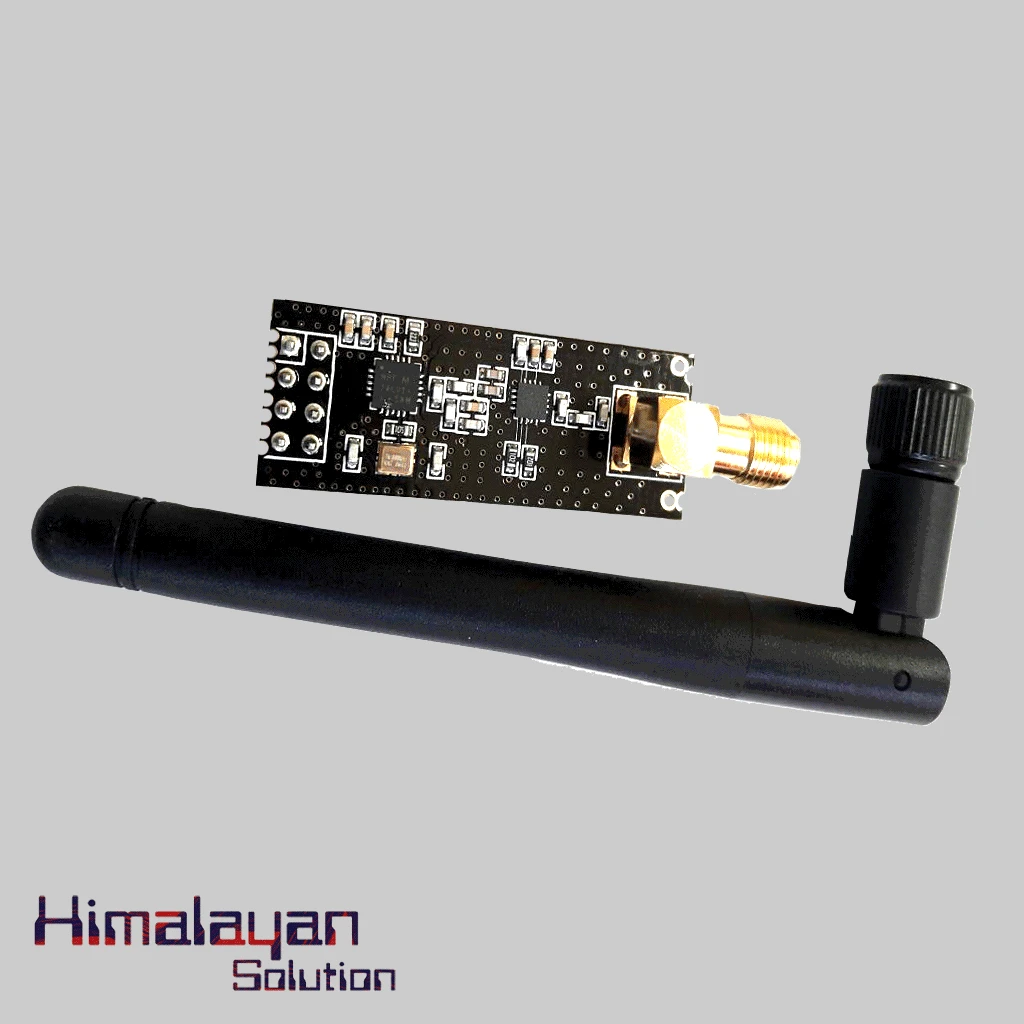
NRF 24l01 With Antenna
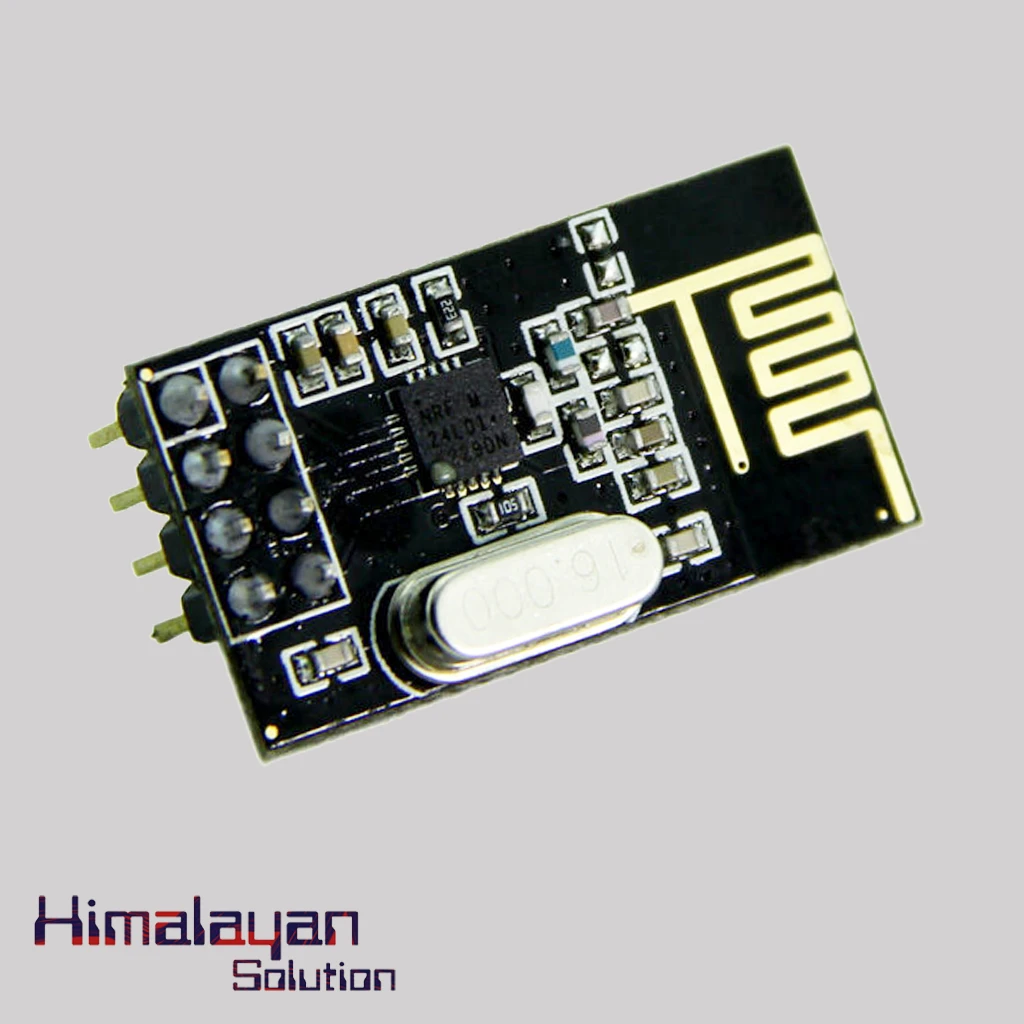
NRF 24l01 Without Antenna
ZS-040 Bluetooth Module
Tsop Module With Remote
GSM Antenna
GPS Module
GSM Sim 900 Module Big

GSM/GPS Sim 808 Sim908 Module
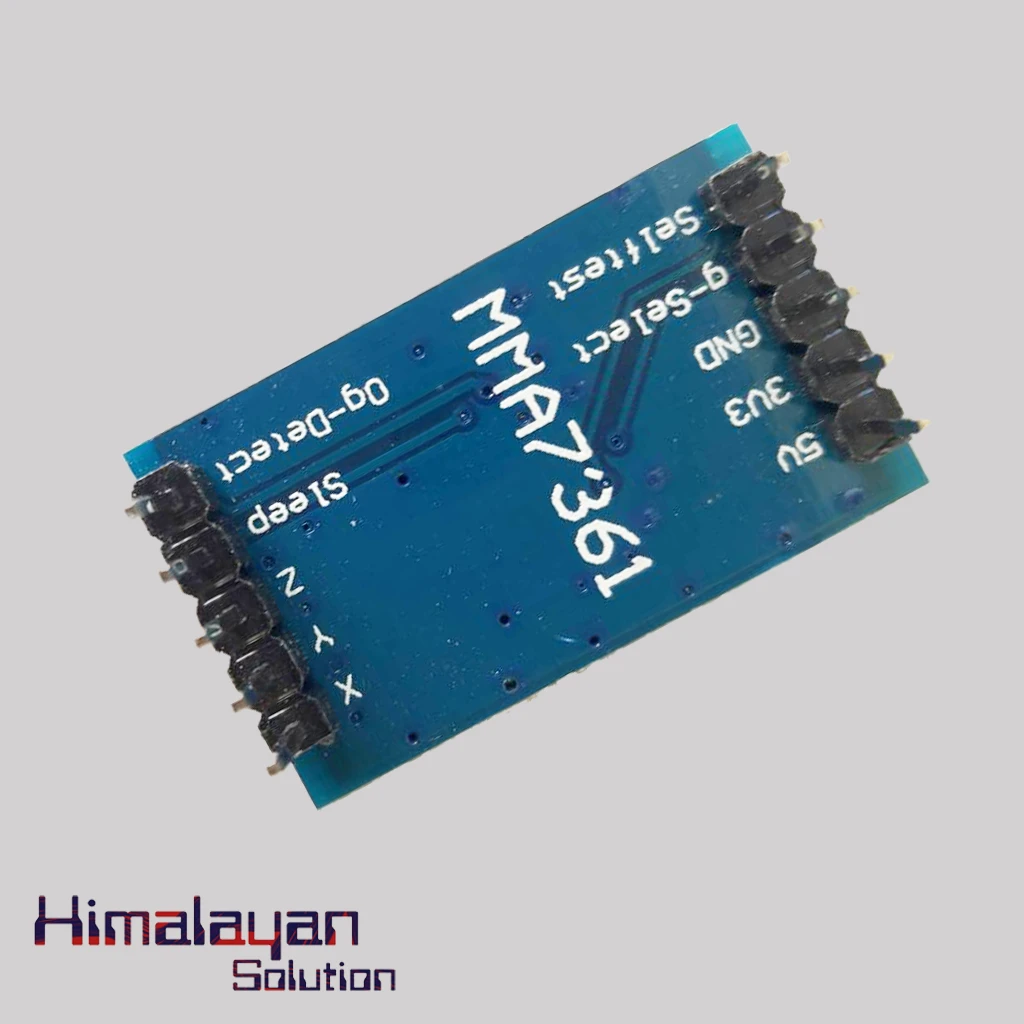
MMA 7761 Module
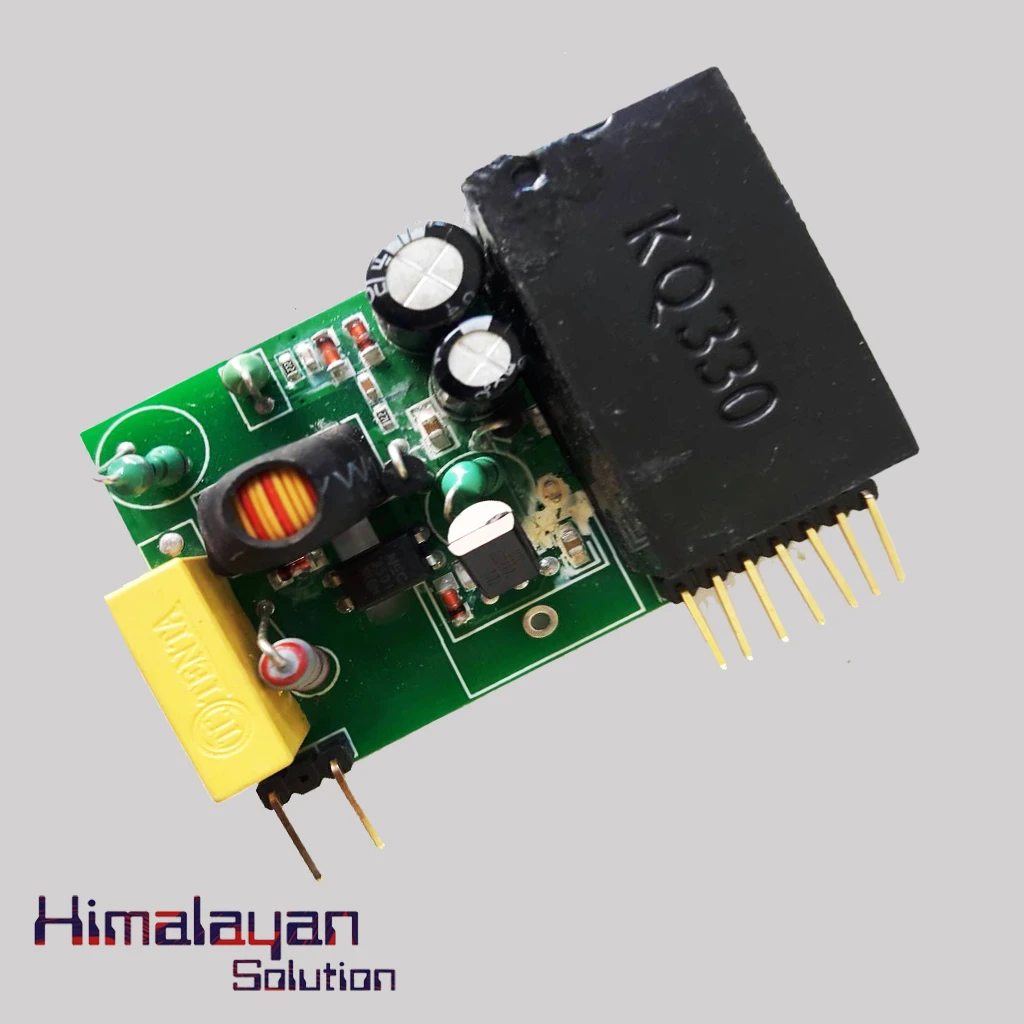
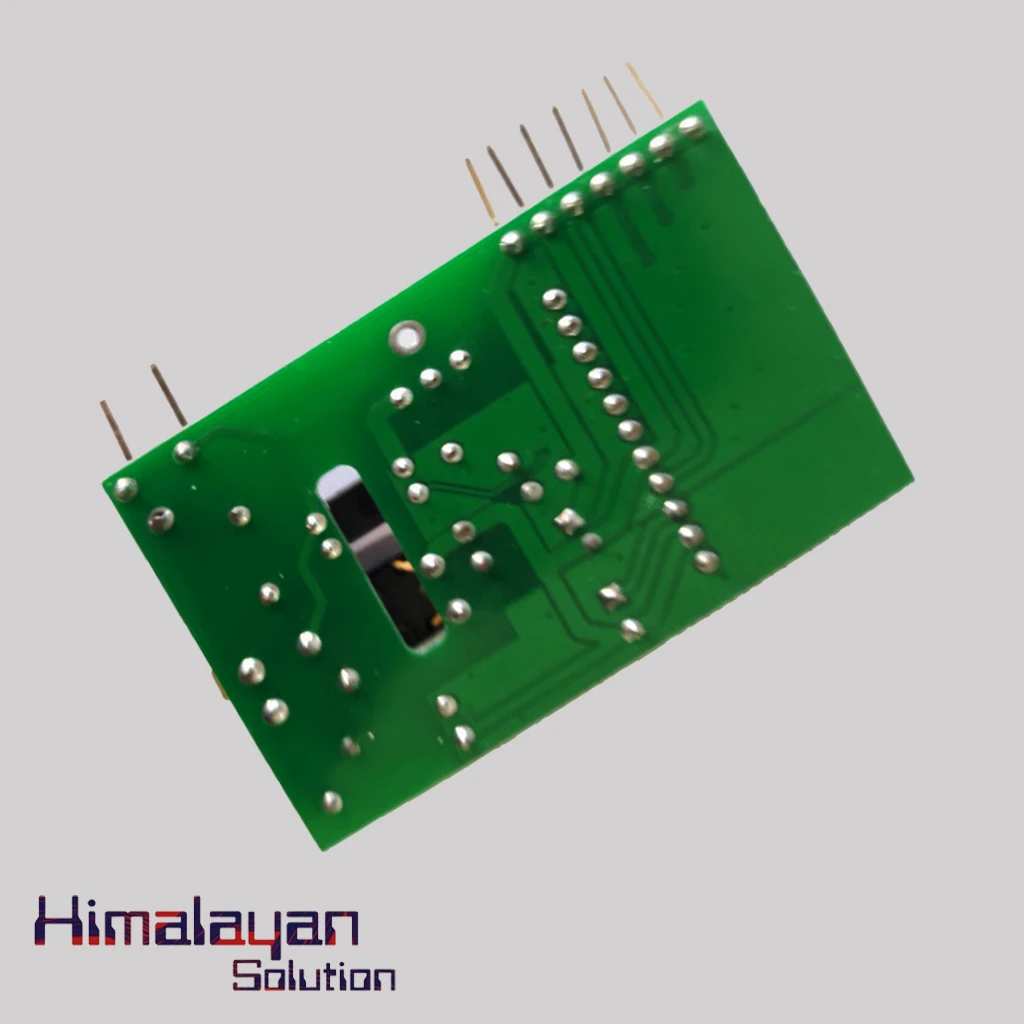
PLC Module
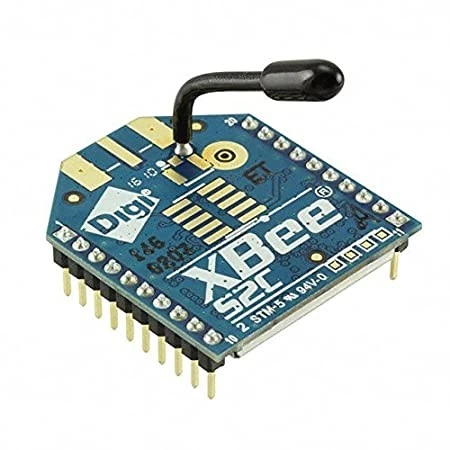
X-Bee Shield
X-Bee USB Adapter

Raspberry Pi 3
Night vision sensitive IR

RFID Reader ID
RFID Reader IC
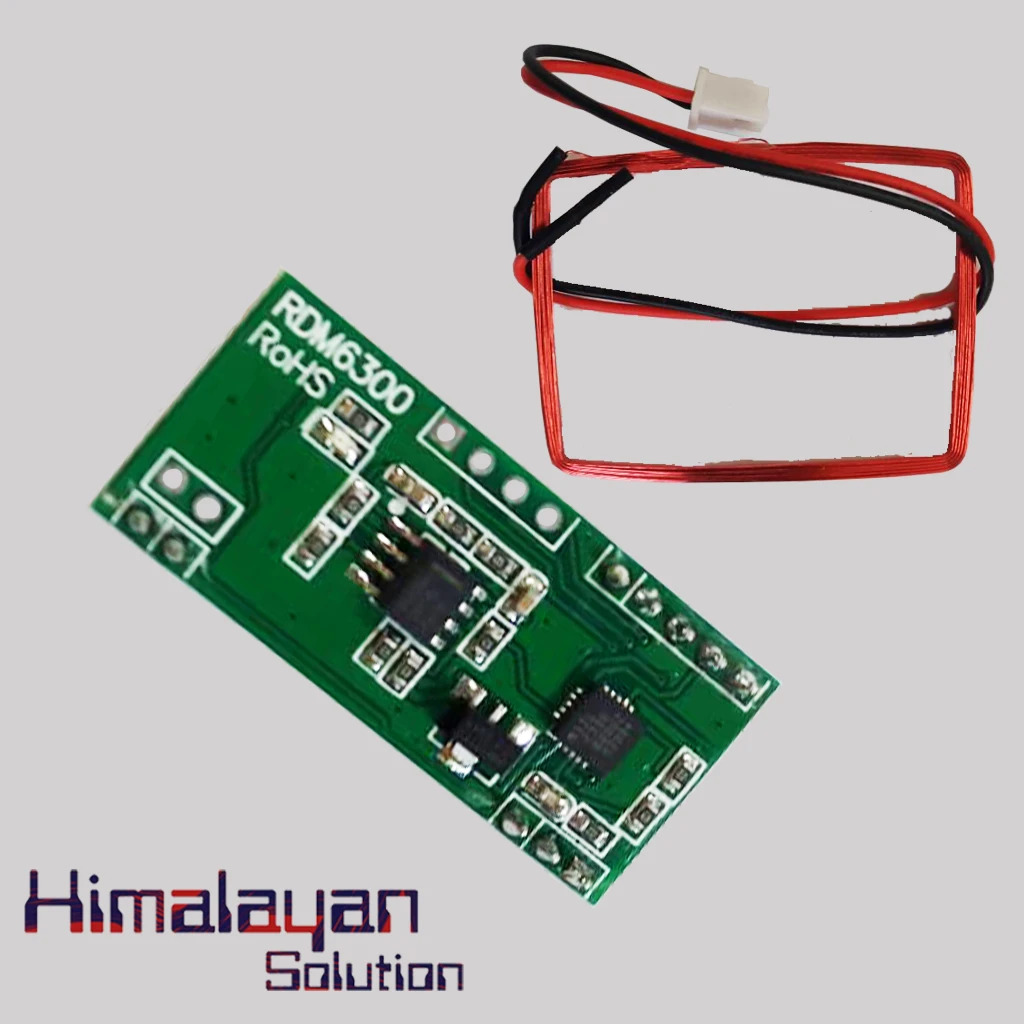
Rfid Reader Module RDM6300
Frequently Bought Together
No frequently bought products found!
Products from this Seller
View All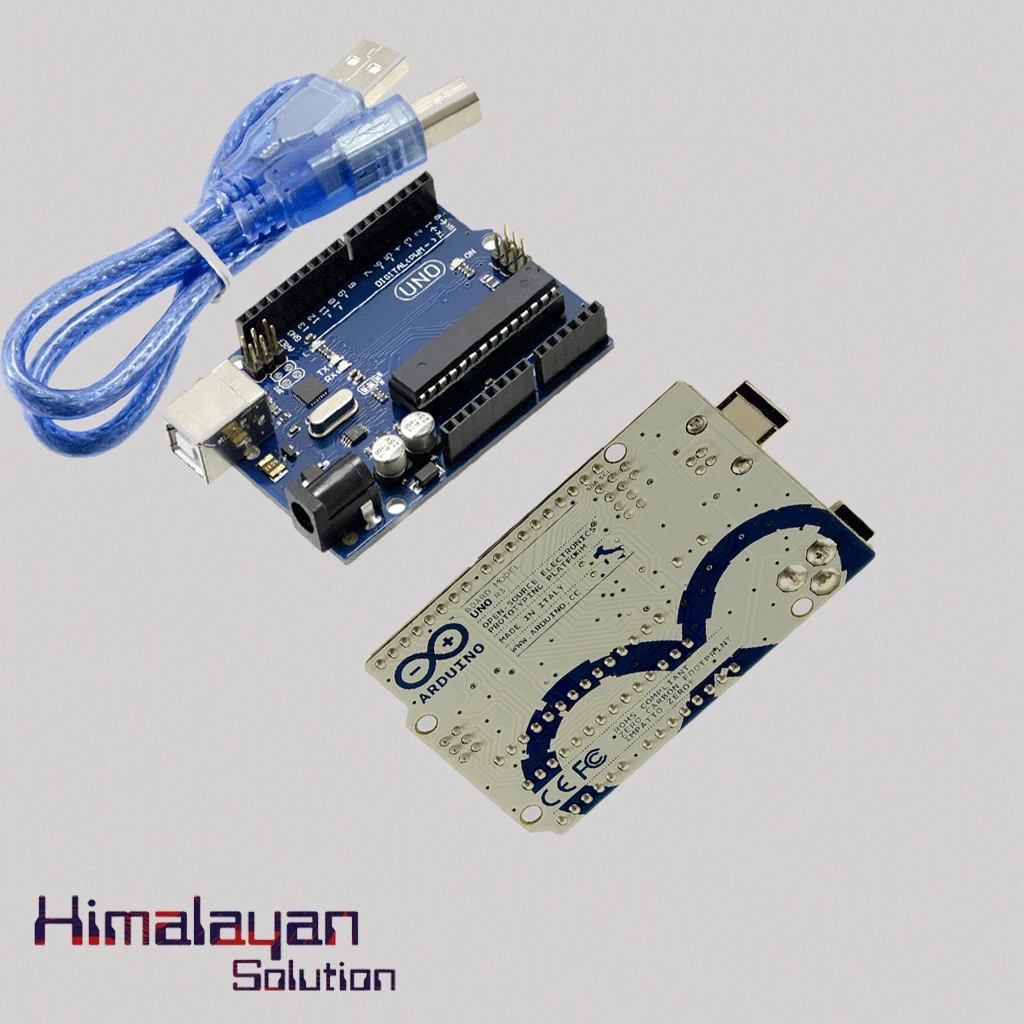

Arduino Uno R3 - Original Made in Italy with cable
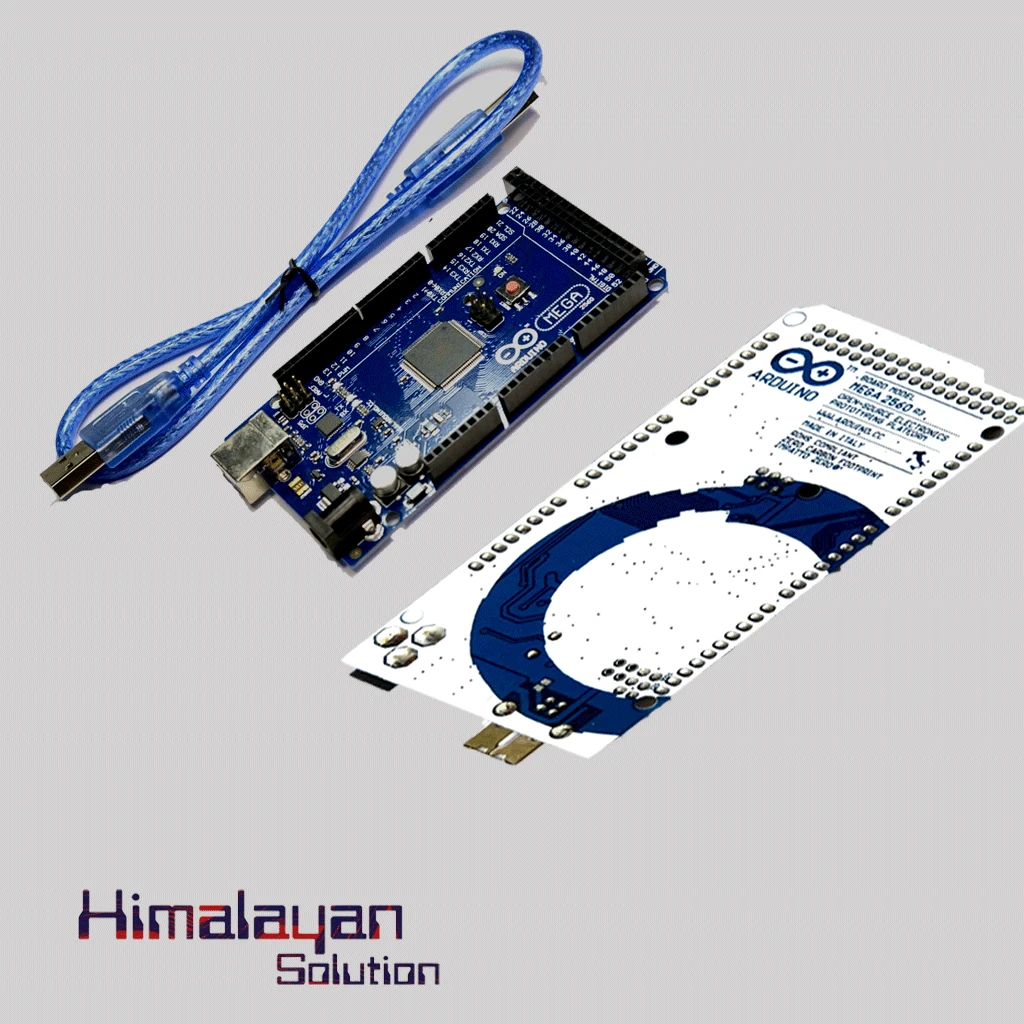

Arduino Mega 2560
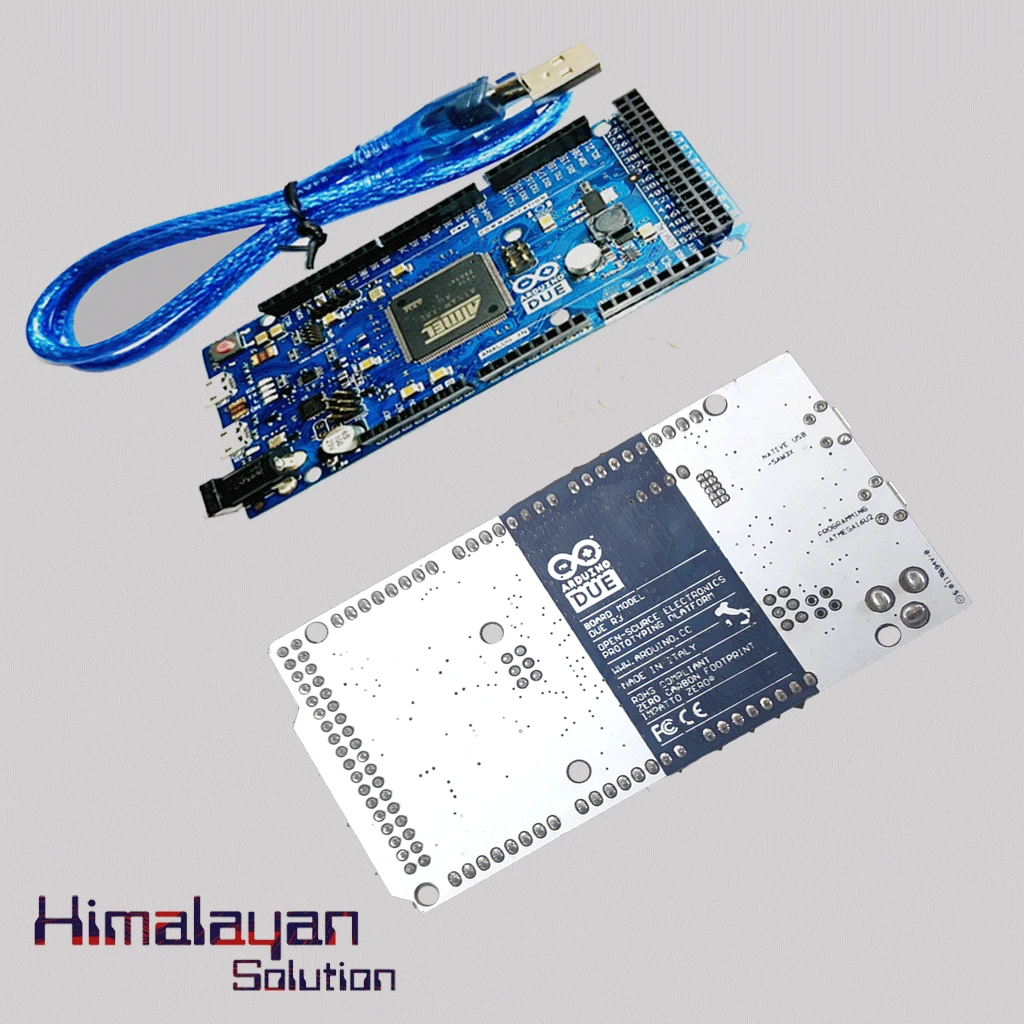

Arduino Due Board
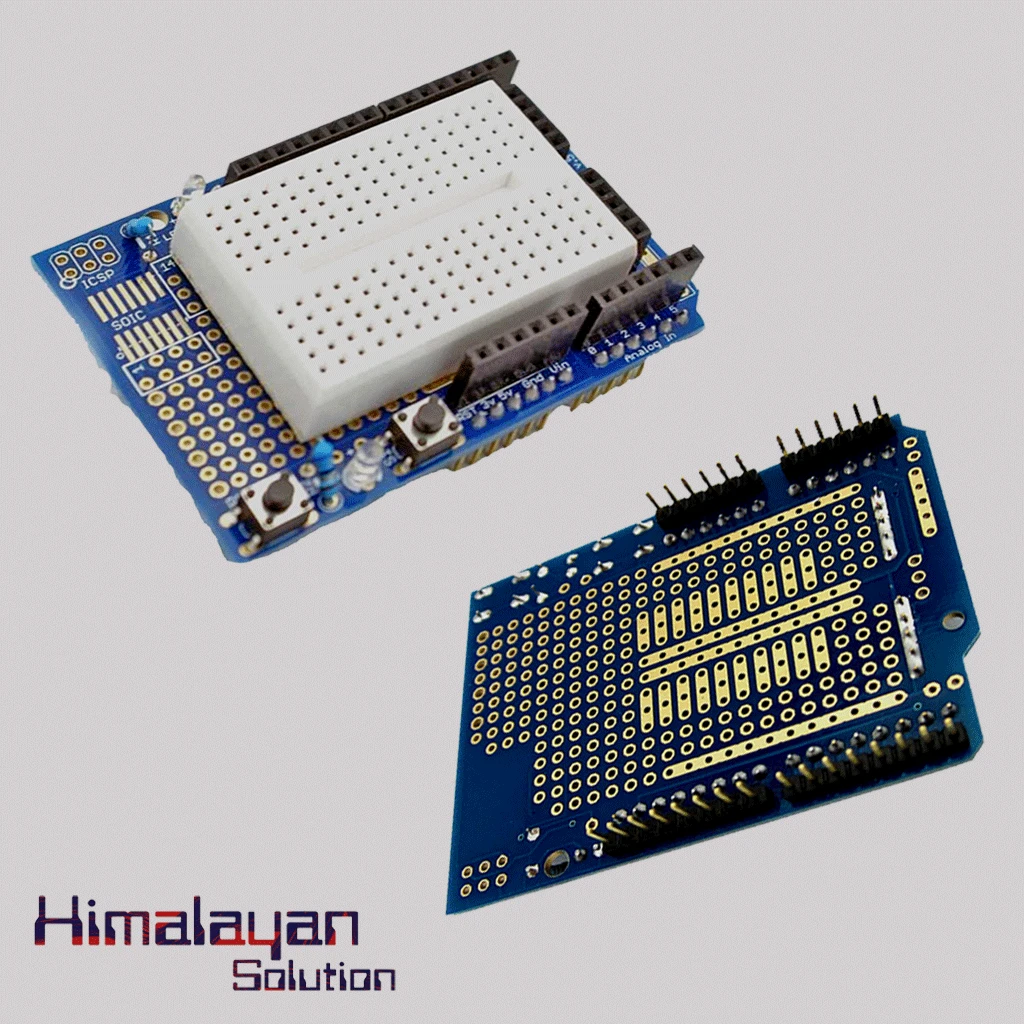

Arduino Uno Protype Shield
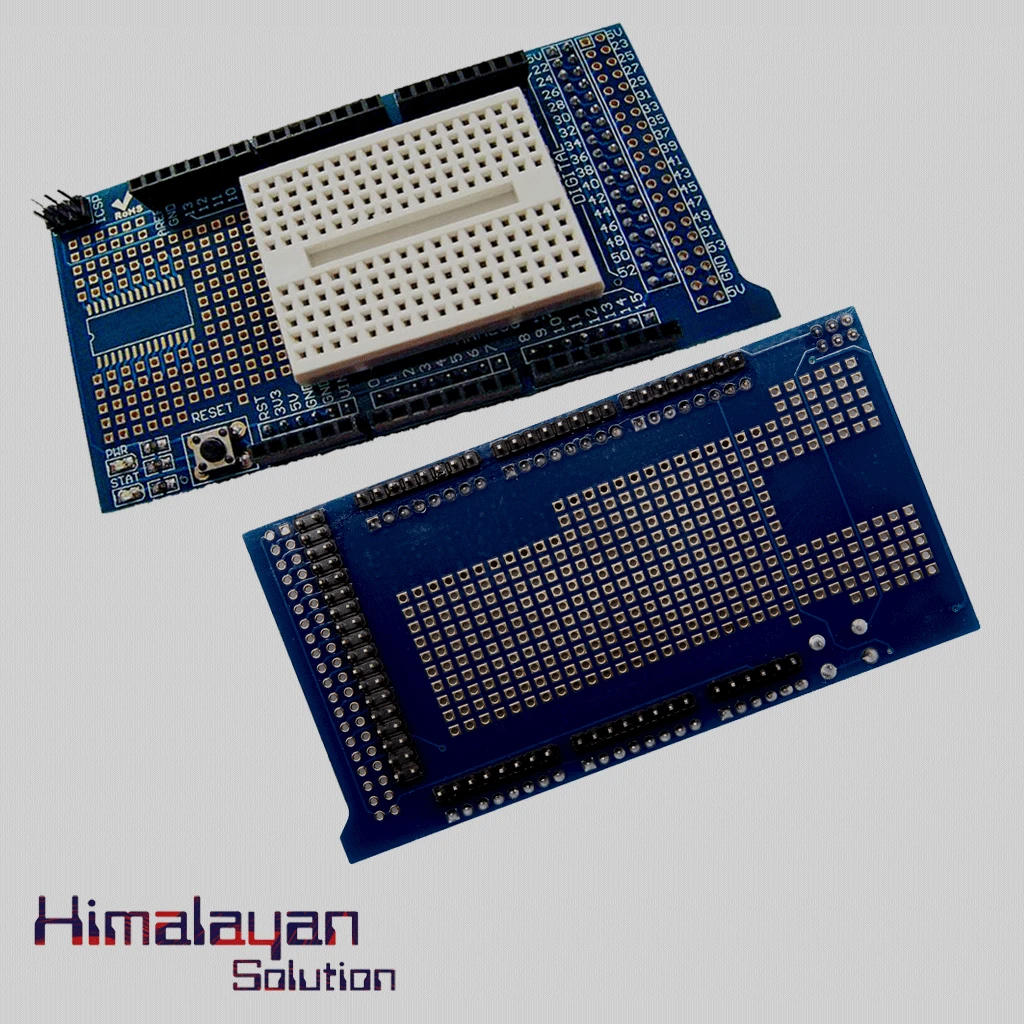
Arduino Mega Protype shield
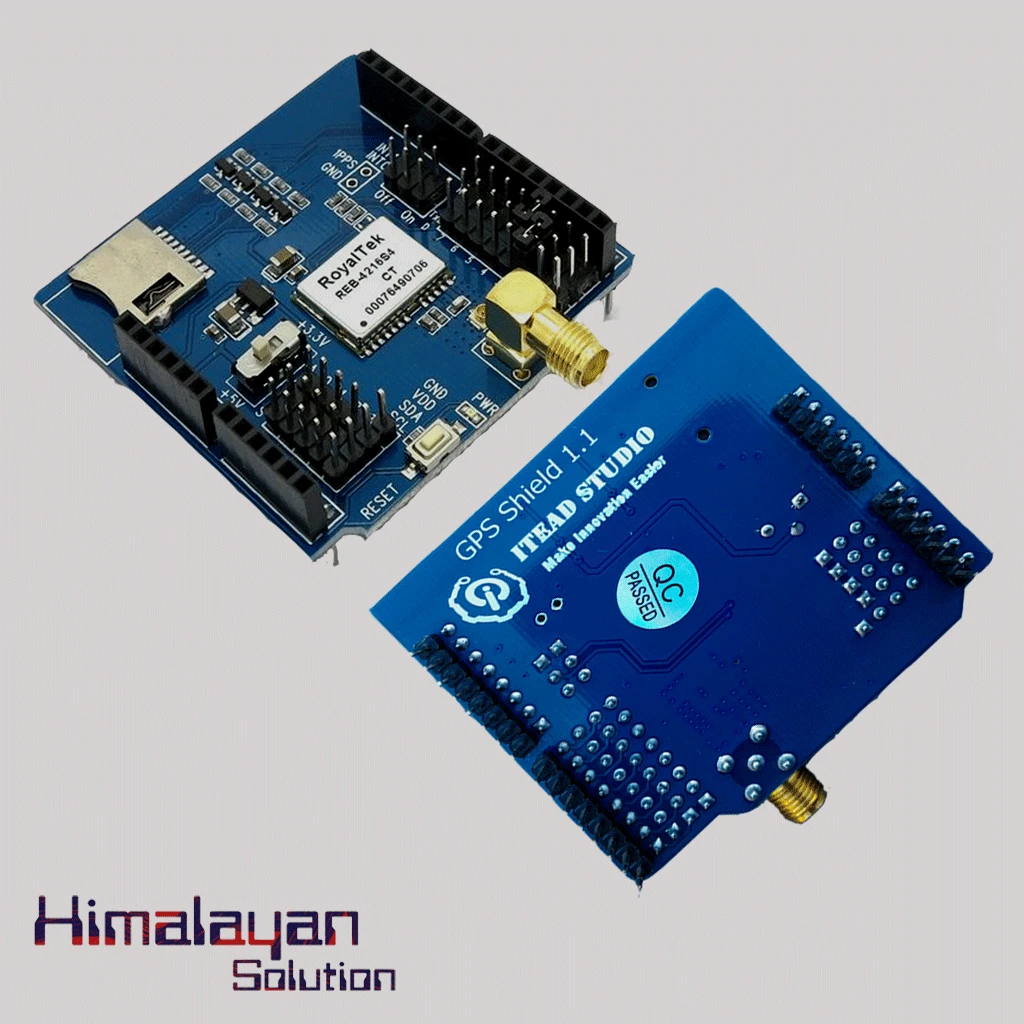
Arduino Gps Sheild


PIR Motion Sensor Detector Module HC SR501


Voltage Sensor Module
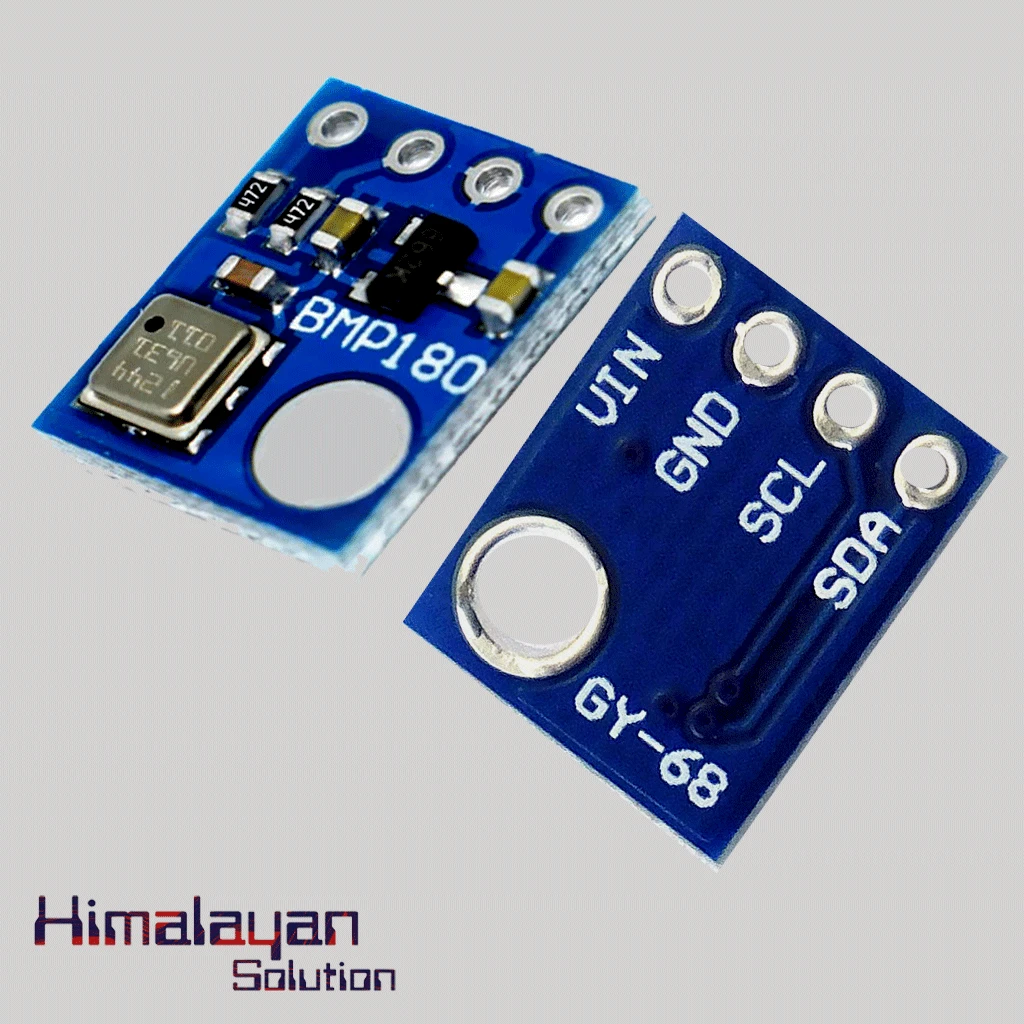

BMP180 Pressure Sensor


Arduino UNO R3 Clone without cable
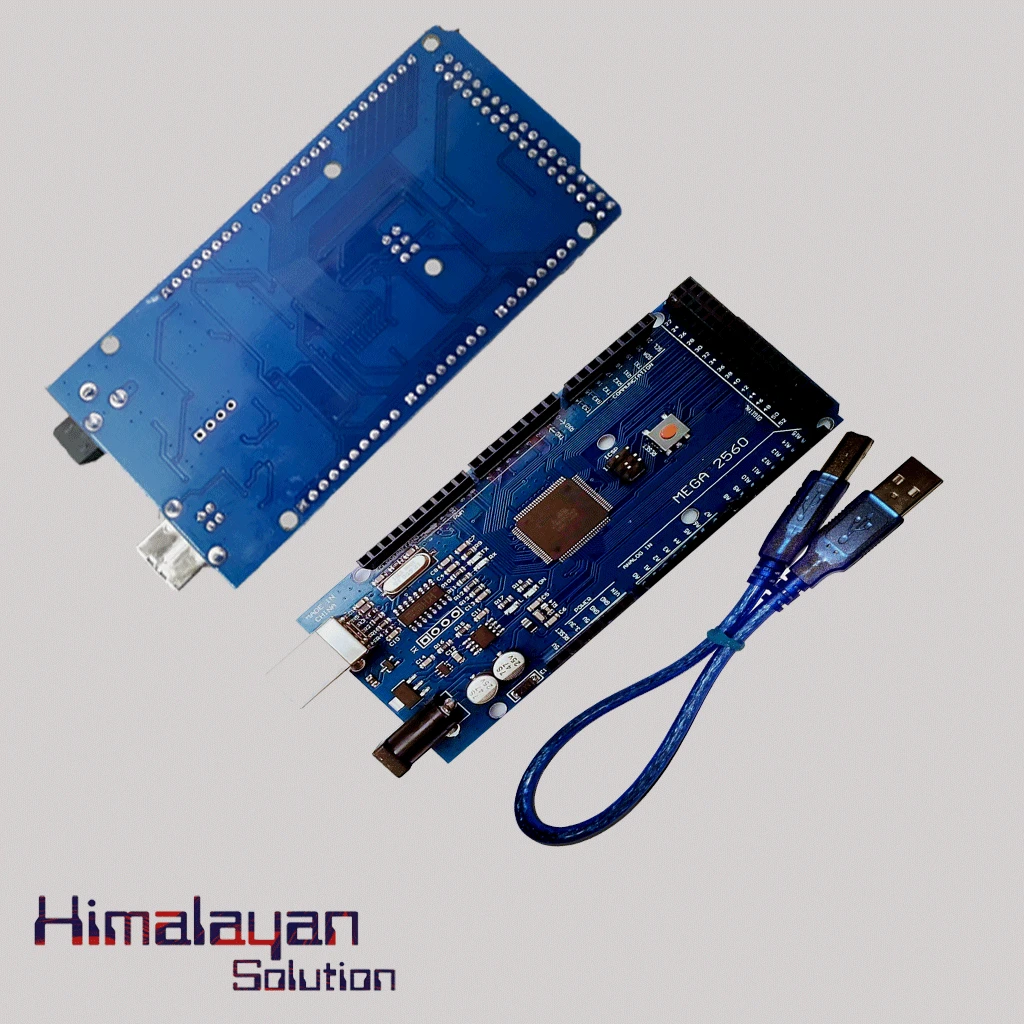

Arduino Mega 2560 Clone
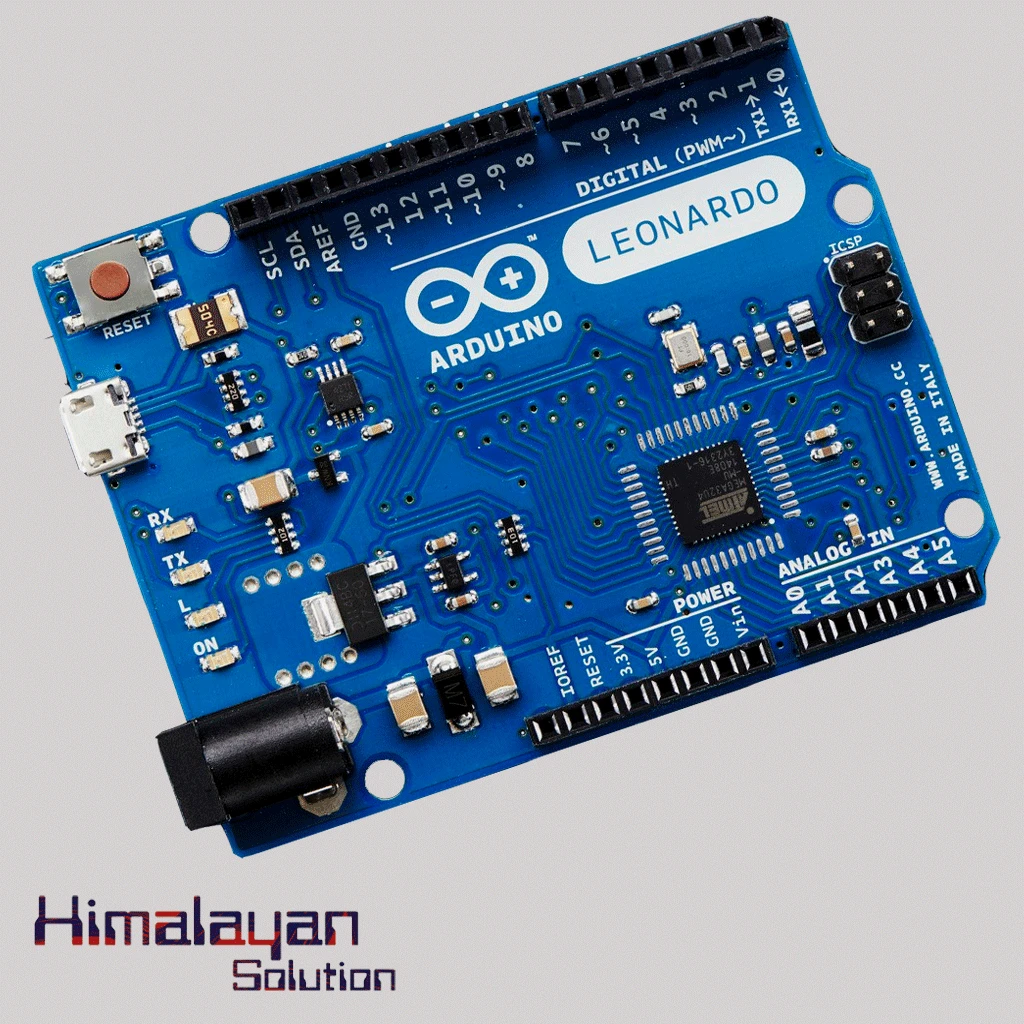
Arduino Leonardo
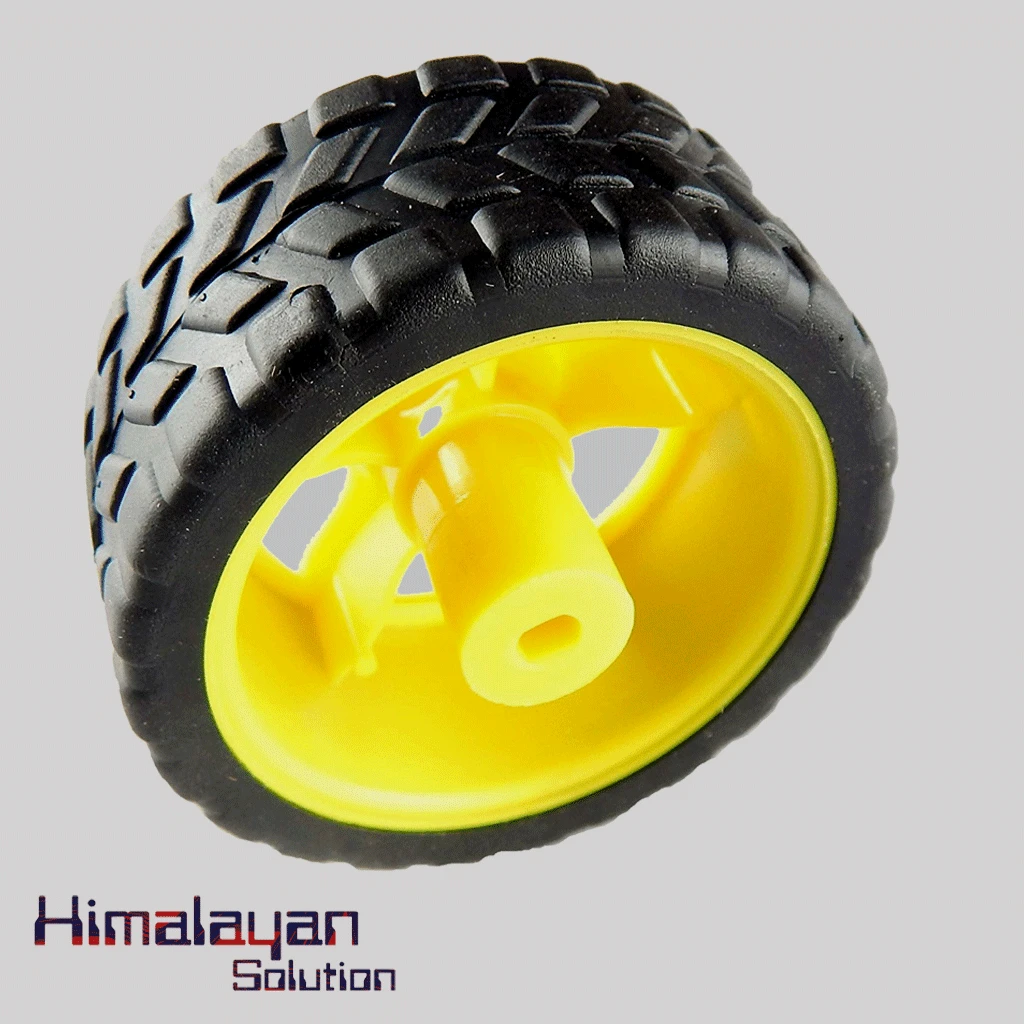

BO Motor Wheel Big
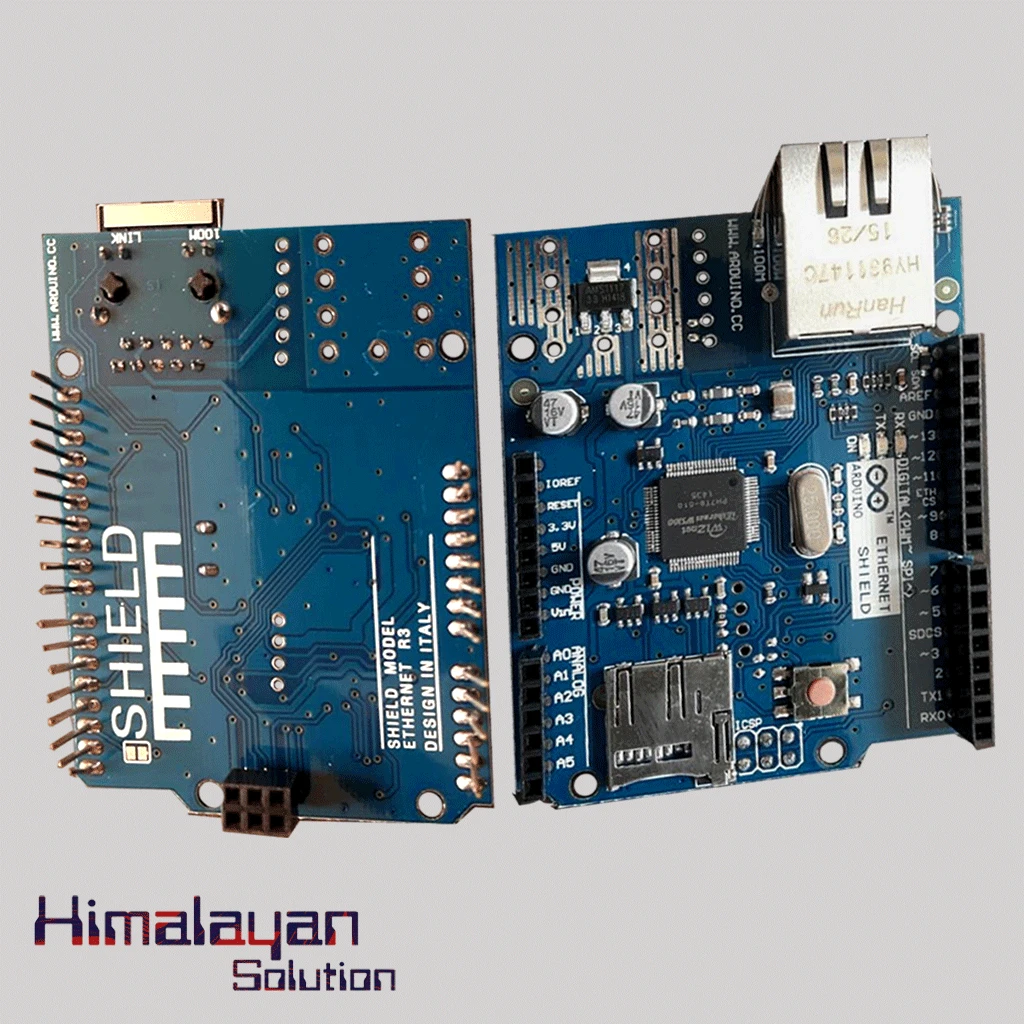

Ardunio Ethernet Shield
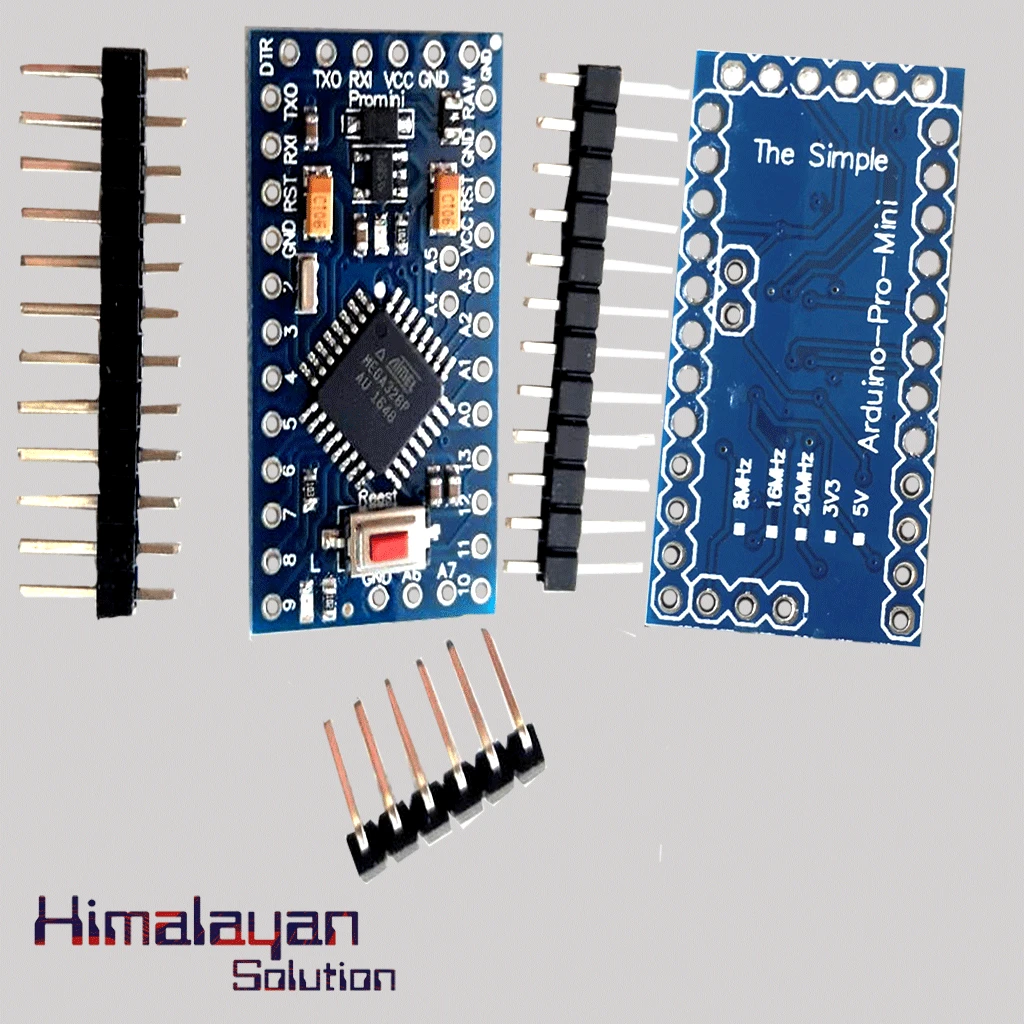

Arduino Pro Mini
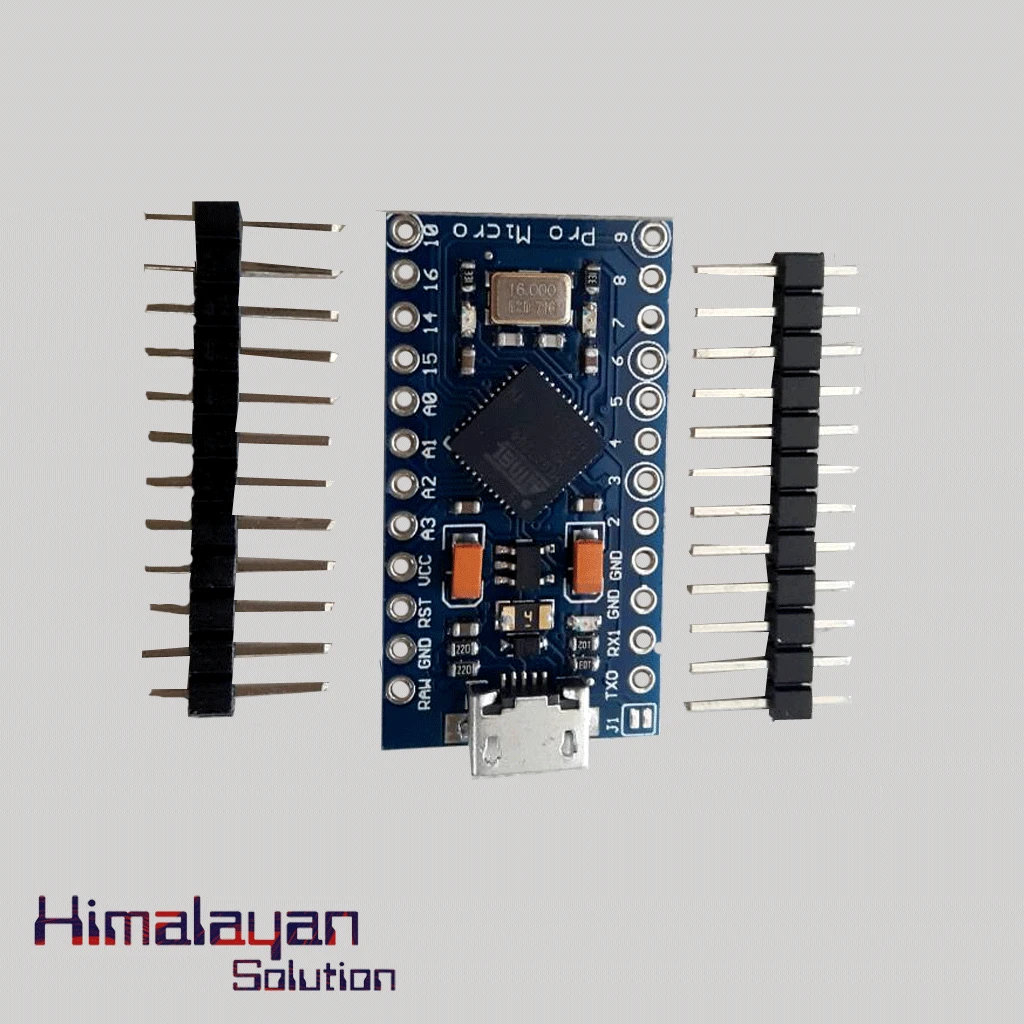
Arduino Pro Micro
RF Module 315 mhz
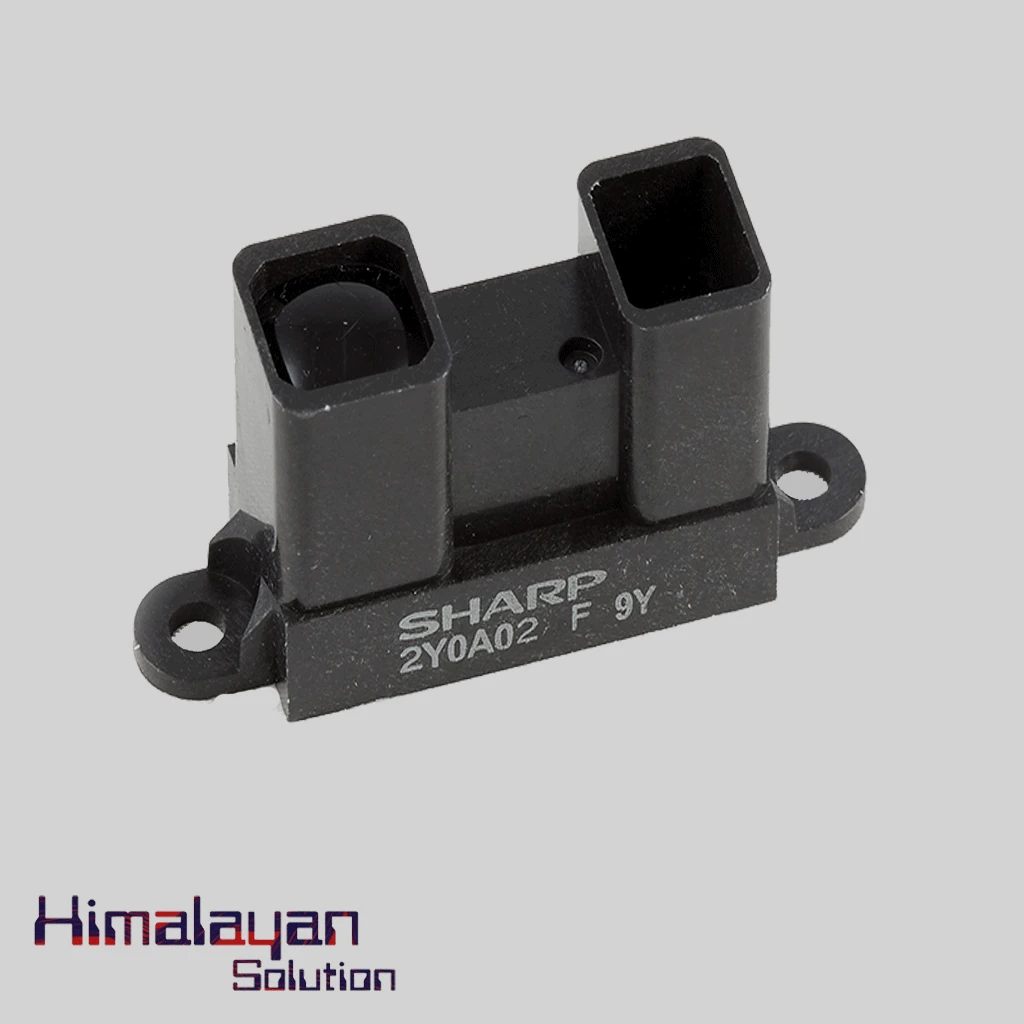
Sharp Distance Sensor 2y0a02
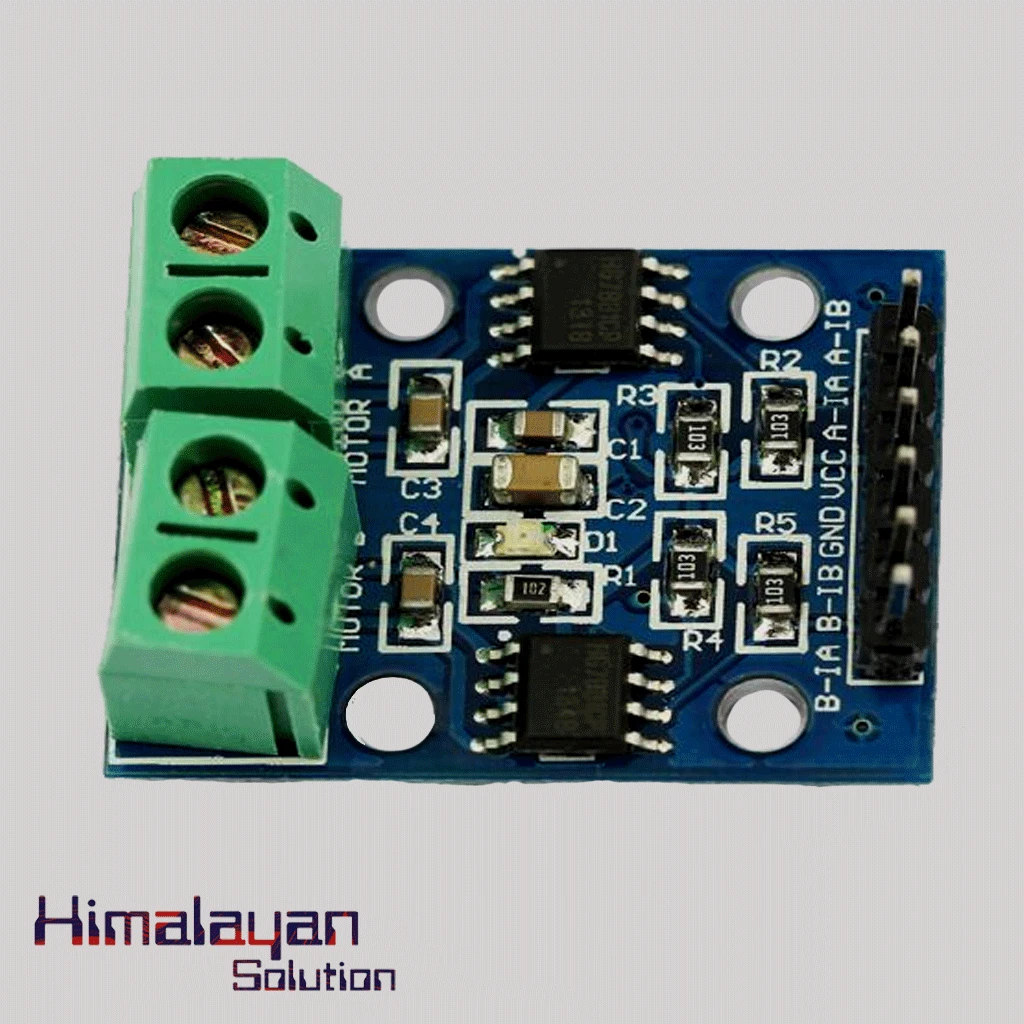
HG7881(L9110) Motor Driver Module
L298N Motor Driver Module
Himalayan Solution - Innovating Nepal Through Technology
Himalayan Solution is Nepal's trusted destination for electronics, robotics, IoT, and engineering components, empowering innovators, students, and industries with cutting-edge technology.
From Arduino and sensors to automation and custom technology solutions, we bridge the gap between ideas and innovation.


Share with Friends
Trading is more effective when you share products with friends!Share you link
Share to